Quick Summary:
Transforming your Moto Guzzi V9 with custom paint enhances its looks and can add value. This guide covers essential upgrades, from choosing colors and finishes to professional application and necessary prep work, making your V9 truly unique and well-protected.
Hey there, fellow riders! Barry K. Richmond here. Ever look at your Moto Guzzi V9 and think, “It’s great, but it could be even better“? One of the most satisfying ways to make your bike truly yours is through custom paint. It’s not just about a flashy new color; it’s about expressing your style, protecting your investment, and maybe even making your V9 stand out in a crowd. But where do you even start? It can seem a bit daunting, with so many choices and techniques. Don’t worry, though! We’ll break down how to approach a Moto Guzzi V9 custom paint job like a pro, step-by-step. We’ll cover everything from the basics to some really cool upgrade ideas. Let’s get your V9 looking exactly how you envision it!
Moto Guzzi V9 Custom Paint: Making Your Ride Uniquely Yours

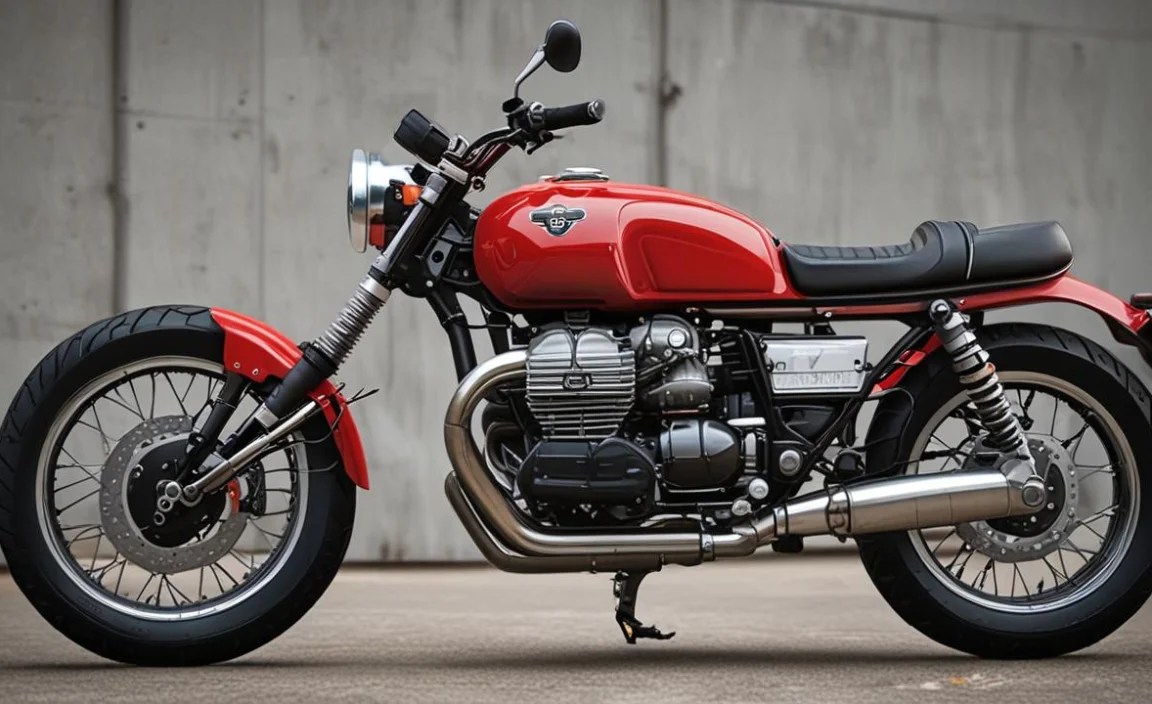
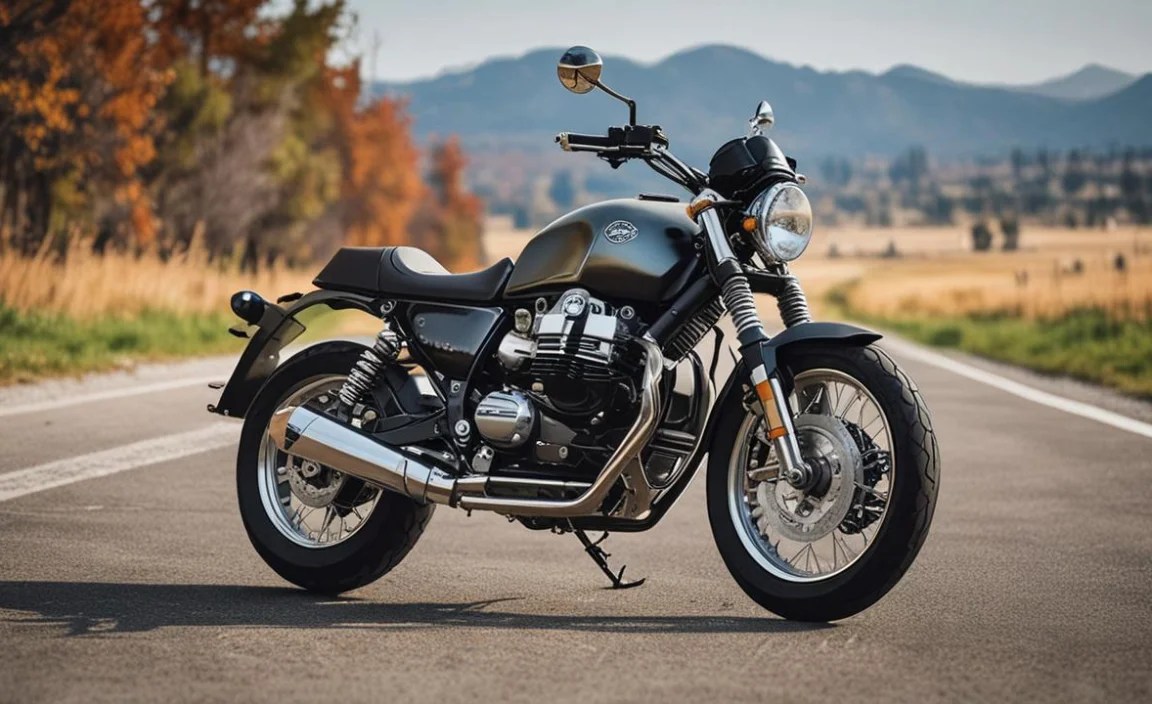
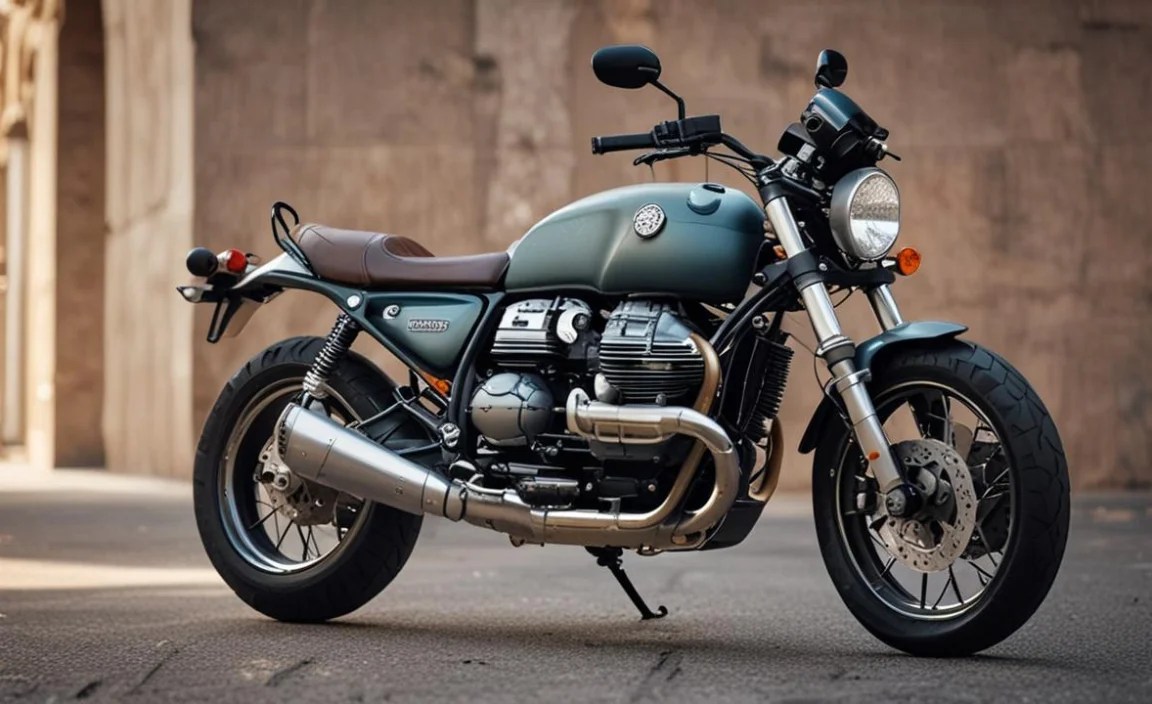
The Moto Guzzi V9 is a fantastic machine, known for its classic styling and torquey V-twin engine. It’s the perfect canvas for a custom paint job. Whether you’re aiming for a subtle, sophisticated look or a head-turning, bold statement, custom paint can elevate your V9 to a whole new level.
When we talk about “custom paint” for your Moto Guzzi V9, it can mean a lot of things. It could be a new solid color, a multi-tone design, a unique graphic, or even a special finish like a matte or satin effect. The goal is usually twofold: aesthetics and protection. A good paint job not only makes your bike look incredible but also adds a layer of defense against the elements, minor scratches, and UV damage.
Let’s dive into the essential upgrades and considerations to make your Moto Guzzi V9 custom paint project a roaring success.
Understanding Custom Paint Options for Your V9

Before you even think about picking a color, it’s good to know what’s out there. The world of motorcycle paint is vast! Here are some popular options:
- Solid Colors: The most straightforward. You can choose from countless shades – classic black, vibrant reds, deep blues, or even custom mixes. Reliability and ease of touch-up are big pluses here.
- Metallic Finishes: These paints contain tiny metallic flakes that catch the light, giving the paint a shimmering, dynamic appearance. They add depth and a premium feel.
- Pearlescent Finishes: Similar to metallics but using pearl particles, these paints offer a subtle color shift depending on the viewing angle and light. They can be understated yet incredibly elegant.
- Candy Colors: These are translucent colors applied over a metallic or pearl base coat. They create a deep, gem-like effect with incredible luminosity. Often require a highly skilled painter.
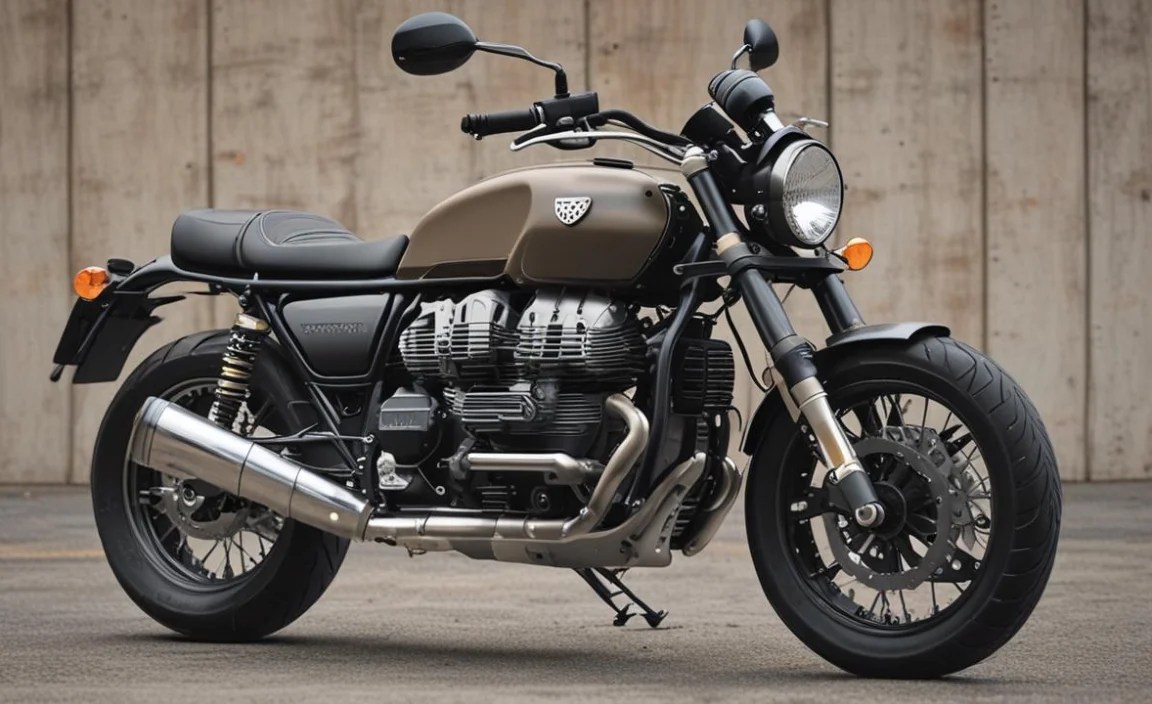
- Matte/Satin Finishes: The opposite of glossy! These finishes absorb light rather than reflecting it, providing a modern, stealthy, or sophisticated look. They can be more challenging to clean and repair than gloss finishes.
- Graphics and Pinstriping: Adding lines, logos, flames, or intricate designs can make your V9 truly unique. This can be anything from simple hand-applied pinstripes to complex airbrushed murals.
- Chameleon/Kameleon Paints: These are specialty paints that change color dramatically depending on the angle of light. They’re definitely a statement piece!
When considering the finish for your Moto Guzzi V9, think about your riding environment and how much maintenance you’re willing to do. Matte finishes look amazing but can show scuffs more easily than gloss.
Essential Preparation: The Foundation of a Great Paint Job

No matter how fancy your chosen paint is, it won’t last or look good without proper preparation. This is arguably the most crucial part of any custom paint job, and it’s where many DIY projects falter if not done carefully. For your Moto Guzzi V9, this means:
Disassembly and Cleaning

You’ll need to remove the parts you want to paint. For a V9, this typically includes:
- Fuel Tank
- Fenders (front and rear)
- Side Covers
- Possibly other smaller panels or accents
Once removed, thorough cleaning is essential. Use a degreaser to remove all oil, grease, and road grime. Then, wash with soap and water and ensure everything is completely dry. Any contaminants left under the paint will cause adhesion problems or blemishes later on.
Stripping Old Paint and Bondo

You’ll likely need to remove the existing paint down to the bare metal or plastic. This can be done using:
- Paint Stripper: Follow product instructions carefully and wear protective gear.
- Sanding: Start with coarser grit sandpaper (e.g., 80-120 grit) to remove old paint and then move to finer grits (e.g., 180-220 grit) to smooth the surface.
- Media Blasting: For professionals, this can be a quick way to strip paint, but it needs to be done carefully to avoid damaging the metal.
If there are any dents or imperfections, they’ll need to be smoothed out with body filler (Bondo) and then sanded smooth. A perfectly smooth surface is key to a mirror-like finish.
Priming
Primer acts as a bonding agent between the bare metal/plastic and your color coat. It also helps to reveal any imperfections you might have missed. You’ll typically want to use:
- Epoxy Primer: Excellent for adhesion to bare metal and providing corrosion resistance.
- High-Build Primer (Primer Surfacer): Used to fill minor imperfections and create a smooth surface for sanding.
After applying primer, you’ll usually sand it smooth with fine-grit sandpaper (e.g., 320-400 grit) to create the ideal surface for painting.
Choosing Your Paint and Finish: The Creative Part

Now for the fun! Selecting the right paint and finish for your Moto Guzzi V9 custom paint project is where personality truly shines. Consider the V9’s classic, neo-retro styling. What kind of vibe are you going for?
Color Palette Ideas

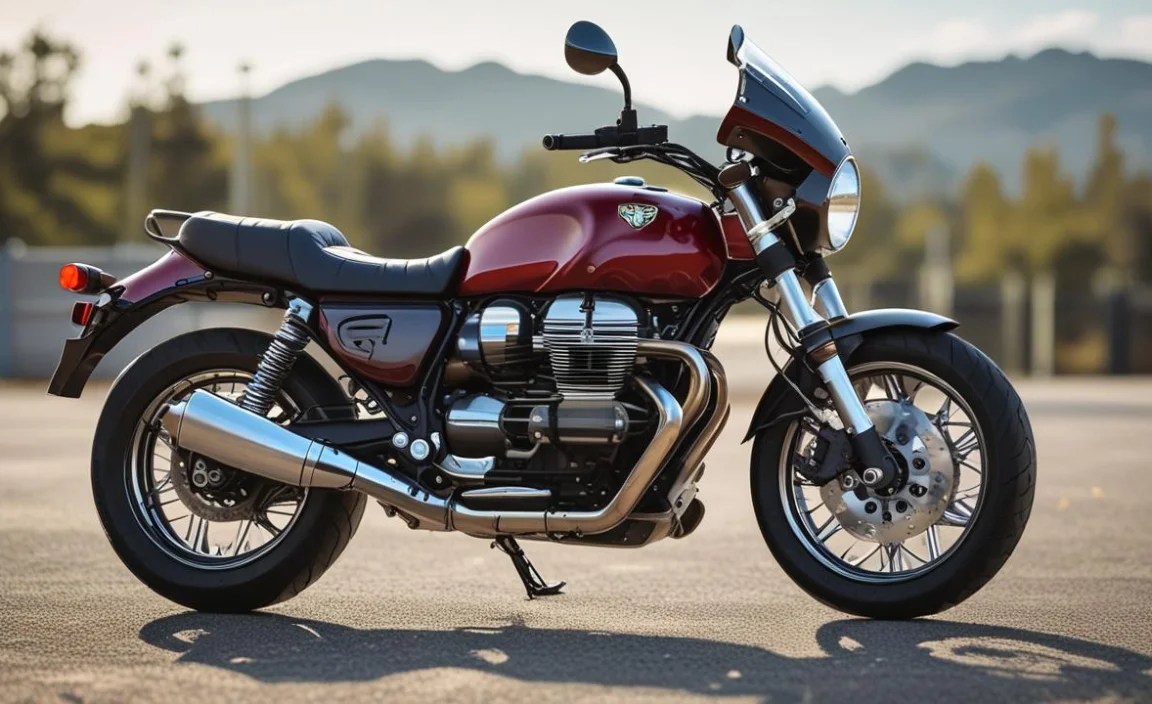
For the Classic Rider:
- Deep Burgundy or Maroon
- Forest Green
- Navy Blue
- Cream or Ivory
- Gunmetal Grey
These colors work exceptionally well with chrome accents common on the V9.
For the Bold Statement Maker:
- Vibrant Red or Orange
- Electric Blue or Teal
- Mustard Yellow
- Matte Black with a splash of color
These pops of color highlight the V9’s unique lines.
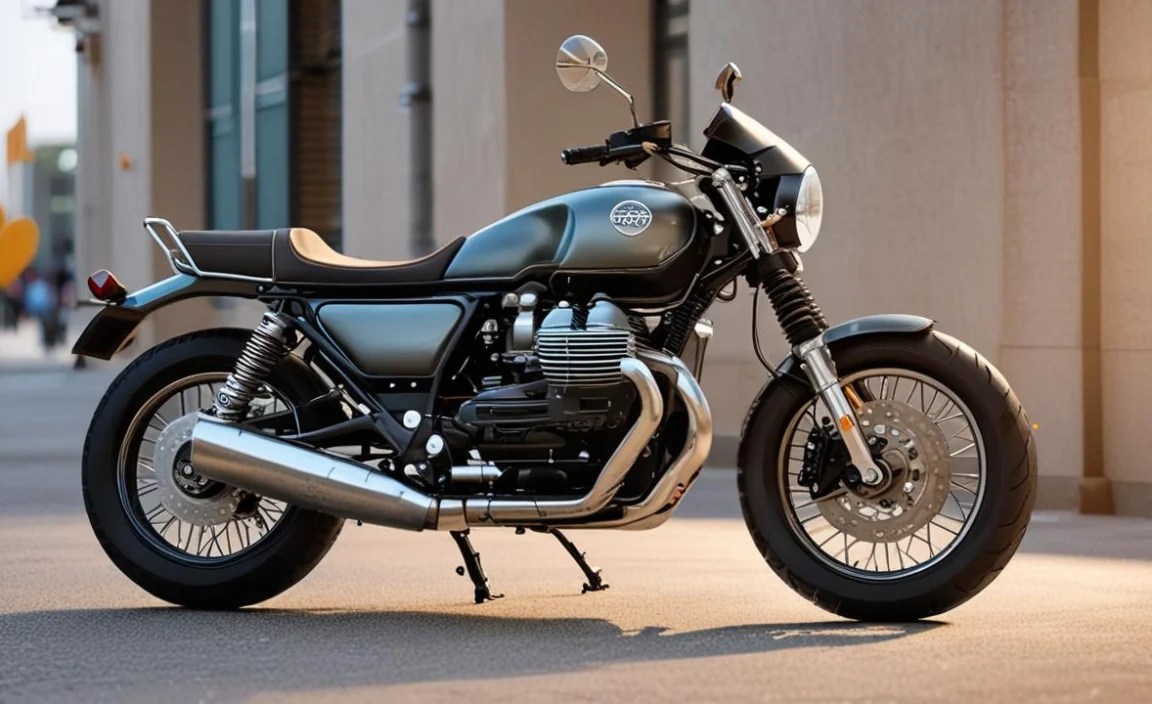
For the Modern Minimalist:
- Satin Black
- Matte Grey
- Anthracite
- Silver with a subtle metallic flake
Focus here is on texture and subtle depth.
Understanding Different Paint Types
Single-Stage vs. Base Coat/Clear Coat:
Single-Stage: The color and gloss are in one layer. It’s simpler and can be more cost-effective. It’s durable but may not offer the depth of a base coat/clear coat system.
Base Coat/Clear Coat: This is the professional standard. The “base coat” is your color, and then a “clear coat” is applied over it. The clear coat provides depth, UV protection, and durability. This system allows for more complex effects like pearls and metallics to really pop.
For a Moto Guzzi V9 custom paint job that will last and look its best, the base coat/clear coat system is generally recommended. It offers superior protection and a deeper finish.
Application Methods: DIY vs. Professional
This is a big decision. Do you tackle it yourself, or hand it over to the experts?
DIY (Do It Yourself)
Pros:
- Significant cost savings.
- Immense satisfaction from a job well done.
- Complete control over the process.
Cons:
- Requires proper tools and ventilation (a spray booth is ideal). You can find useful resources on ventilation requirements from organizations like the Occupational Safety and Health Administration (OSHA) regarding spray finishing operations.
- Steep learning curve for proper technique to avoid runs, drips, or uneven coverage.
- Requires a lot of patience and attention to detail.
- Results may not match professional quality without practice.
If you’re considering DIY, start with smaller, less visible parts like a side cover to practice. Invest in good quality spray cans or a decent compressor and spray gun setup. Watch countless tutorials from reputable sources.
Professional Painter
Pros:
- Guaranteed professional finish.
- Access to high-end paints and equipment.
- Expertise in handling complex designs and finishes.
- Saves you time and potential frustration.
Cons:
- Significantly higher cost.
- Less direct control over the minute-by-minute process.
- Need to find a painter you trust and who understands your vision.
When choosing a professional, look for someone with experience painting motorcycles, especially classic or retro styles. Ask to see their portfolio. A good painter will often be able to advise on the best techniques and materials for your Moto Guzzi V9.
Essential Tools and Materials (for DIYers)

If you decide to go the DIY route for your Moto Guzzi V9 custom paint, here’s a basic rundown of what you might need:
| Category | Essential Items | Notes |
|---|---|---|
| Preparation | Degreaser, soap, water, rags, masking tape (automotive grade), sandpaper (various grits: 80, 120, 180, 220, 320, 400, 600, 800) | Quality masking tape is key to sharp lines. |
| Stripping/Smoothing | Paint stripper (chemical), Bondo/body filler, putty knife, sanding blocks | Wear gloves and eye protection for stripper. |
| Priming | Automotive primer (epoxy and/or high-build), primer spray cans or spray gun | Ensure compatibility with your chosen paint. |
| Painting | Automotive base coat paint (color), automotive clear coat, primer/sealer, tack cloths | Use reputable automotive paint brands. |
| Application | Spray gun (HVLP recommended), air compressor with water/oil separator, or high-quality spray cans | HVLP guns reduce overspray and waste. |
| Safety | Respirator mask (organic vapor cartridges), gloves, safety glasses, face shield, coveralls, good ventilation | Non-negotiable for your health. |
| Finishing | Rubbing compound, polishing compound, wax/sealant | For that final show-quality finish. |
Ventilation is paramount when dealing with automotive paints and solvents. Working in a well-ventilated area, or ideally a spray booth designed for this purpose, is crucial for your safety and the quality of the finish. Proper ventilation helps clear volatile organic compounds (VOCs) and prevents dust from settling on your wet paint. For more information on safe practices, the Environmental Protection Agency (EPA) offers guidance on controlling VOCs in auto body shops.
Applying Graphics and Details

Once the main color and clear coat are applied and cured, you can add graphics. This is where your Moto Guzzi V9 custom paint really gets personalized.
Pinstriping
Simple, classic, and effective. Pinstripes can be painted by hand using a fine liner brush or specialized pinstriping tools, or applied using self-adhesive vinyl tape. Hand-painted pinstripes offer a truly bespoke look.
Stencils and Masks

For more complex shapes or graphics (like logos, flames, or stripes), you’ll use stencils. These can be:
- Cut vinyl masks: Designed to adhere to the painted surface, protecting areas you don’t want painted.
- Liquid mask: A liquid that dries into a flexible film, allowing you to cut designs into it.
- Pre-cut stencils: Often made from cardstock or thin plastic for simpler applications.
After applying the stencil, you’ll spray the new color. Once dry, carefully remove the stencil to reveal the design. This technique is often used for multi-tone jobs or adding contrasting graphics.
Hand-Painting and Airbrushing

For true artistry, hand-painting or airbrushing allows for unique imagery, shading, and detail. This is typically the domain of experienced artists but can result in truly one-of-a-kind finishes. Think custom skulls, vintage logos, or flowing abstract designs.
After any graphics are applied, they are usually sealed in with another coat of clear coat to protect them and create a smooth, unified surface. Then comes the final sanding and buffing process to achieve that show-stopping shine.
Curing and Finishing Touches

Paint doesn’t just dry; it cures. This is a chemical process that hardens the paint fully. The time required varies depending on the paint type and ambient temperature.
- Air Drying: Some paints cure sufficiently at room temperature over a period of days or weeks.
- Baking: Professional shops use heated spray booths to accelerate curing, often within hours.
For DIY, allow ample time for curing before reassembling your Moto Guzzi V9 or attempting any polishing. Rushing this stage can lead to premature failure of the finish.
Wet Sanding and Polishing

This is the final step to achieving a deep, glossy, and flawless finish. It involves:
- Wet Sanding: Using very fine-grit sandpaper (e.g., 1500-3000 grit) with water to level out any minor imperfections in the clear coat, like dust nibs or slight orange peel.
- Compounding: Using a rubbing compound (a more aggressive polish) to remove the sanding marks.
- Polishing: Using a finer polishing compound to bring out the shine.
- Waxing/Sealing: Applying a high-quality wax or sealant to protect the new finish and enhance its gloss.
Always work in small sections and use a new, clean pad for each step. Microfiber cloths are your best friend here.
Maintaining Your Custom Painted V9

Your Moto Guzzi V9 custom paint job is an investment. Keeping it looking sharp requires ongoing care:
- Regular Washing: Use pH-neutral motorcycle-specific soap and plenty of clean water. Avoid harsh detergents or abrasive scrubbers.
- Drying: Pat dry with a clean microfiber towel to prevent water spots.
- Protection: Apply a good quality wax or sealant every few months to protect the paint from UV rays and environmental contaminants.
- Careful Storage: If possible, store your V9 under cover or in a garage to protect it from the elements.
- Be Mindful of Fuel/Oil: While modern automotive paints are durable, prolonged contact with gasoline, oil, or brake fluid can damage the finish. Wipe up any spills immediately.
With proper care, your custom-painted Moto Guzzi V9 will look stunning for years to come.
Frequently Asked Questions (FAQ)
Q1: How much does a custom paint job for a Moto Guzzi V9 typically cost?

A: The cost can vary wildly. A simple, single-color
