This guide helps women riders prepare for a Southwest vintage motorcycle tour, covering bike checks, packing essentials, safety tips, and enjoying the journey. It ensures your classic ride is road-ready and you feel confident for an unforgettable adventure. Get ready to roll!
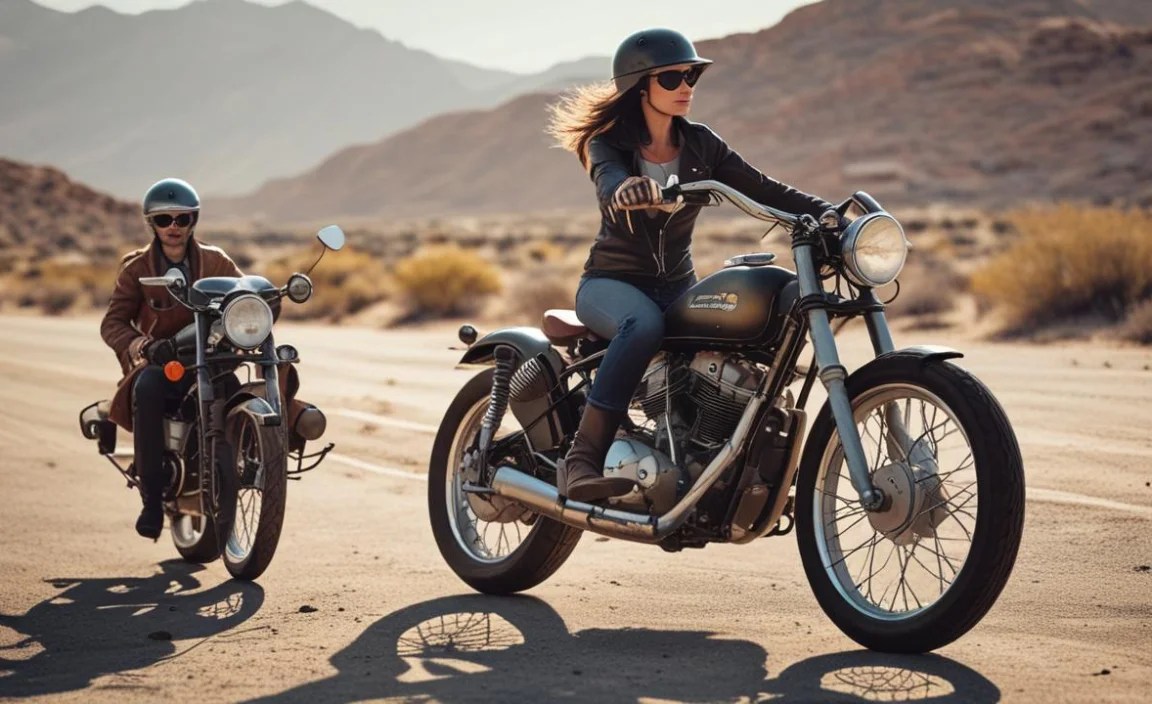
Hitting the open road on a vintage motorcycle is an amazing feeling. The wind, the rumble, the scenery – pure freedom! If you’re a woman rider eyeing a vintage motorcycle event or a grand tour through the stunning Southwest, you might be wondering what makes it different, especially with a classic bike. Don’t sweat it! Getting your beloved two-wheeler ready and packing smart is simpler than you think. We’ll walk through everything, from making sure your beauty runs like a dream to what to bring so you have a blast and stay safe. Let’s get you prepped for an epic ride!
Planning Your Vintage Motorcycle Southwest Tour for Women Riders

The Southwest offers breathtaking landscapes, from vast deserts to majestic mountains, making it a prime destination for a vintage motorcycle tour. For women riders embarking on this adventure, careful planning is key to a smooth and enjoyable experience. It’s not just about the destination; it’s about the journey and ensuring your classic machine is up to the task. We’ll focus on making this an accessible and empowering experience for every rider, regardless of her mechanical background.
Choosing Your Route and Timing

The Southwest is a huge area, so deciding on a general route is your first step after committing to the tour. Popular routes often include parts of historic Route 66, scenic byways in Arizona, Utah, New Mexico, and even parts of Southern California and Colorado. Consider what you want to see: national parks, ghost towns, vibrant cities, or just endless stretches of stunning highway.
- Spring (March-May): Ideal for cooler temperatures, especially in the desert regions. Wildflowers might be in bloom in some areas.
- Fall (September-November): Pleasant temperatures, vibrant autumn colors in higher elevations, and clear skies are common.
- Summer (June-August): Can be extremely hot in desert areas, requiring careful hydration and planning for cooler riding times (early morning, late evening). Mountainous areas will be more comfortable.
- Winter (December-February): Generally too cold and potentially icy in many parts of the Southwest for vintage bikes and comfortable riding, though Southern Arizona can be an exception.
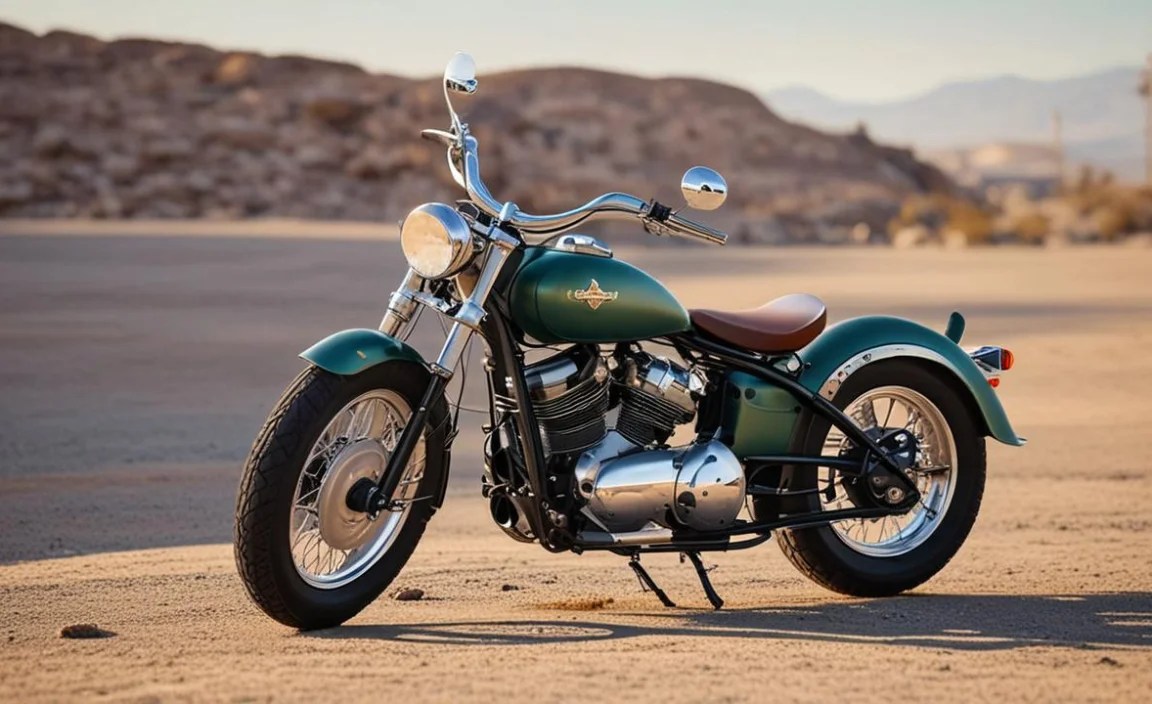
Understanding Your Vintage Motorcycle’s Needs

Vintage motorcycles – those typically 20 years or older – have unique charms and quirks. They demand a bit more attention than a modern bike, but that’s part of their allure. Regular maintenance is crucial, and understanding your specific model’s needs is paramount before embarking on a long tour.
Think of your vintage bike like a classic car; it needs a gentle hand and consistent care. This isn’t the time for a brand-new rider to buy their first vintage bike for a cross-country trip. It’s best suited for those who have a bit of experience with their particular machine or have a trusted mechanic who knows its ins and outs.
Essential Pre-Tour Bike Check

Before you even think about packing, your vintage motorcycle needs a thorough once-over. This is where we ensure your trusty steed is ready for the miles ahead. You don’t need to be a master mechanic, but knowing these basics will save you headaches on the road.
Fluid Levels and Condition

This is arguably the most critical check. Old fluids can lead to poor performance and overheating. Make sure you know where to check and what to look for.
- Engine Oil: Check the level on the dipstick or sight glass. If it’s low, top it up with the correct grade of oil recommended for your bike. Look at the oil’s color; if it’s very dark, gritty, or milky, it’s overdue for a change.
- Brake Fluid: Essential for your safety! Check the level in the reservoirs. The fluid should be clear or slightly amber. If it’s dark or murky, it needs to be flushed and replaced. Consult your owner’s manual or a service manual for the correct type.
- Coolant (if applicable): For liquid-cooled vintage bikes, ensure the coolant level is correct and that the coolant itself isn’t rusty or contaminated.
- Transmission Fluid (if separate): Some vintage bikes have a separate transmission oil. Check its level and condition according to your manual.
Tires: Grip and Grit

Your tires are your only contact with the road. Worn or improperly inflated tires are a major safety hazard, especially on long tours.
- Tread Depth: Check the tread depth. If it’s looking a bit smooth or you can barely see the tread pattern, it’s time for new tires. A quick way to check is the “penny test” – insert a penny with Lincoln’s head upside down. If you can see the top of his head, your tread is low.
- Tire Pressure: This is non-negotiable. Use a reliable tire pressure gauge. The correct pressure for your bike is usually found on a sticker on the frame, in your owner’s manual, or on the tire sidewall (though the manual/frame sticker is preferred for your specific bike). Riding with incorrect pressure affects handling and can lead to blowouts.
- Tire Sidewalls: Inspect the sidewalls for any cracks, bulges, or signs of dry rot. If you see any, replace the tires immediately. They are a ticking time bomb.
Brakes: Stopping Power

Your brakes are your lifeline. They need to be in perfect working order. This is not an area to compromise.
- Brake Pads/Shoes: Visually inspect the thickness of your brake pads (for disc brakes) or check wear indicators for brake shoes (for drum brakes). If they look thin, replace them.
- Brake Lever/Pedal Feel: Squeeze the brake lever or press the pedal. It should feel firm and not spongy. If it feels mushy, there’s likely air in the brake lines, and they need bleeding.
- Disc/Rotor: For disc brakes, check the rotors for excessive wear, scoring, or damage.
Chain and Sprocket Check (for chain-driven bikes)

A worn chain and sprockets can lead to a broken chain, leaving you stranded. This is a common failure point on older bikes.
- Chain Tension: Check the slack in your chain according to your owner’s manual. Too tight or too loose is bad news.
- Chain Wear: Look for any stiff links or excessive rust. If the chain looks worn or stretched (you can often test this by pulling it away from the front sprocket – it shouldn’t lift off very far), it’s time for a new chain and possibly sprockets.
- Sprockets: Inspect the teeth on the sprockets. If they look like shark fins (worn to a point), they need replacement along with the chain.
Lights and Electricals

Ensuring all your lights work is a must for safety and legality.
- Headlight: High and low beams.
- Taillight and Brake Light: Test the brake light by activating both front and rear brakes.
- Turn Signals: Front and rear, left and right.
- Horn
- Battery: Check battery terminals for corrosion. Clean them with a wire brush if necessary. Ensure the battery is securely mounted. If your battery is old, consider replacing it before a long trip. A weak battery is a common cause of breakdowns.
Carburetor and Fuel System

Vintage bikes can be finicky with their fuel delivery. A clean fuel system is vital.
- Petcock: Ensure the fuel petcock (the valve that controls fuel flow from the tank) is functioning correctly and not leaking.
- Fuel Filter: If your bike has one, check it for blockages and clean or replace it. Old fuel can gum up the works.
- Carburetor: If your bike has been sitting or running rough, the carburetors might need cleaning or adjusting. This can be a more involved task, so if you’re not comfortable, let a specialist handle it before you leave.
Recommended Tools and Spares

Packing the right tools and spare parts can mean the difference between a minor roadside fix and a major setback. For a vintage bike, always err on the side of caution.
Essential Tool Kit
This should be tailored to your specific bike model, so consult your service manual. A good basic kit includes:
- Metric wrenches (common sizes for your bike)
- Screwdrivers (flathead and Phillips)
- Pliers (needle-nose and regular)
- Adjustable wrench
- Socket set with ratchet and extension bars
- Hex (Allen) keys
- Tire pressure gauge
- Tire levers (if you have tube tires)
- Small portable air compressor or tire pump
- Duct tape and zip ties (surprisingly useful!)
- Safety wire (for temporary fixes)
- Torque wrench (if you’re doing more involved adjustments)
Key Spare Parts to Carry

Think about common failure points.
| Spare Part | Why it’s important |
|---|---|
| Spare Fuses | Electrical gremlins are common. A blown fuse can stop you dead. |
| Spark Plugs | Fouled or damaged plugs can cause misfires or no-starts. Carry the correct type. |
| Throttle and Clutch Cables | These can fray or break. Carrying spares gives you a quick fix. |
| Bulbs | For your headlight, taillight, and turn signals. |
| Oil Filter (if applicable) | For an emergency oil change. |
| Small bottle of engine oil | To top up if needed. |
| Sealant/Gasket Maker | For temporary fixes on minor leaks. |
| Patch Kit/Spare Tube(s) | If you have tube-type tires, a flat is a real possibility. |
Maintenance Manual
Don’t leave home without your bike’s service manual. It’s your bible for troubleshooting and repairs. Many vintage manuals can be found online as PDFs, or you can pick up a physical copy beforehand. Haynes Manuals and Service-Manuals.net are good places to start.
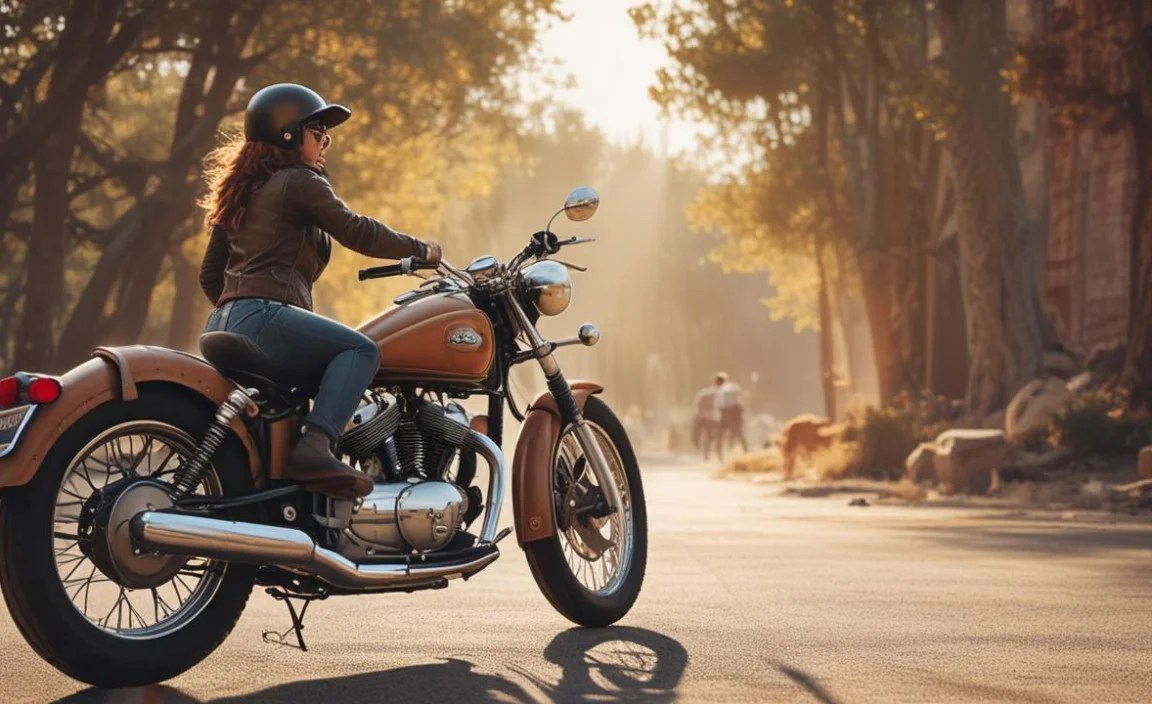
Packing for the Southwest Riding Experience

Riding in the Southwest means dealing with potentially extreme temperatures and bright sun. Layering is your best friend, and comfort is key for long days in the saddle.
Riding Gear – Safety First!

This is non-negotiable for any rider, vintage or modern. Your gear is your protection.
- Helmet: DOT or ECE approved. A ¾ helmet can be stylish for vintage riding, but a full-face offers superior protection. Make sure it fits well and is comfortable for long rides.
- Jacket: A good quality leather or textile jacket with armor is essential. It protects you from abrasion and impacts. Look for something with good ventilation for warmer weather.
- Pants: Motorcycle-specific riding pants (leather or textile) with armor. Jeans are not sufficient protection.
- Gloves: Comfortable gloves that protect your hands from the sun, wind, and abrasion. Leather is a classic choice.
- Boots: Over-the-ankle motorcycle boots provide ankle support and protection.
- Eye Protection: If your helmet doesn’t have a visor, wear goggles or sturdy sunglasses to protect your eyes from wind, dust, and debris.
Clothing Layers for Varying Temperatures

The Southwest can swing from roasting hot to surprisingly chilly, especially at higher altitudes or in the early mornings and evenings.
- Base Layers: Moisture-wicking materials (not cotton!) help regulate body temperature.
- Mid Layers: A light fleece or sweater for cooler mornings or evenings.
- Outer Shell: A waterproof and windproof riding jacket is crucial.
- Pants: Consider riding pants that zip open for ventilation, or bring a pair of lightweight, packable rain pants to wear over your riding pants if it rains or gets very windy.
- Neck Gaiter/Bandana: Invaluable for protecting your neck from sun and wind, and for keeping dust out of your mouth and nose.
Hydration and Sun Protection

The desert sun is no joke. Staying hydrated is critical to avoid heat exhaustion and stay alert.
- Water Bottles/Hydration Pack: Carry more water than you think you’ll need. Saddlebags or tank bags are handy for water storage. A hydration pack (like CamelBak) is excellent for easy sipping while riding.
- Sunscreen: High SPF sunscreen for any exposed skin.
- Lip Balm with SPF: Your lips can get very dry and sunburned.
- Riding Hat/Cap: For wear off the bike to protect your head from the sun.
Luggage Solutions

How you carry your gear depends on your bike.
- Saddlebags: Leather or textile saddlebags are classic and functional for many vintage bikes.
- Tank Bag: Convenient for quick-access items like your phone, wallet, and snacks.
- Tail Bag: A versatile option that can attach to a luggage rack or the rear seat.
- Backpack: Use sparingly, as a heavy backpack can affect your riding posture and cause fatigue on long rides.
Pro Tip: Pack light! You’ll be amazed at how little you truly need. Rolling your clothes can save space.
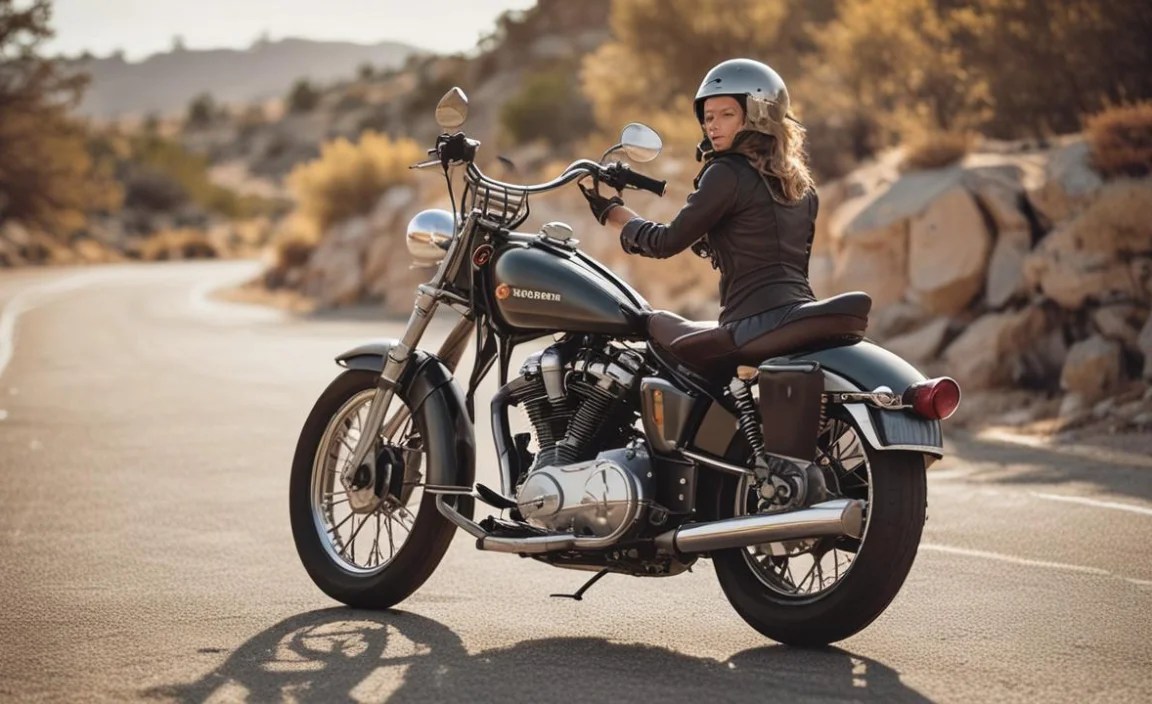
Safety and Riding Techniques for Vintage Bikes on Tour

Vintage bikes handle differently than modern machines. Understanding these differences and adapting your riding style is paramount for safety.
Braking Differences
Many vintage bikes have less powerful brakes, and some may still use drum brakes, which have less stopping power and are more susceptible to fade than disc brakes. Also, older suspension can be less sophisticated.
- Brake Earlier and Smoother: Anticipate stops well in advance. Apply brakes gradually to avoid locking up the wheels, especially on older tires.
- Use Both Brakes: Even with rudimentary brakes, using both front and rear will stop you more effectively than relying on just one. Understand which brake is more powerful on your bike.
- Be Mindful of Surface Conditions: Gravel, sand, or wet patches on the road can significantly reduce traction, especially for vintage tires.
Handling and Cornering
The weight distribution, suspension, and tire profiles of vintage bikes can affect how they lean and turn.
- Smooth Inputs: Avoid abrupt steering or throttle changes. Gentle inputs are key to maintaining balance.
- Look Through the Turn: Always look where you want to go. Your bike will follow your eyes.
- Understand Trail Braking Limitations: While some riders “trail brake” (apply a little front brake into a corner), this can be risky on older bikes with less sophisticated suspension, especially if the brakes are Grabby. It’s often safer to brake before the corner.
Vibration and Fatigue

Vintage bikes can vibrate more than modern bikes, which can lead to fatigue over long distances. This can affect focus and reaction times.
- Take Frequent Breaks: Stop every 60-90 minutes to stretch your legs, walk around, and rest your body and eyes.
- Stay Hydrated and Nourished: Dehydration and low blood sugar amplify fatigue.
- Wear Vibration-Dampening Gloves: Some gloves have extra padding to help reduce handlebar vibration.
Riding in Groups

If you’re touring with other riders, especially other vintage bike enthusiasts, group riding etiquette is vital.
- Staggered Formation: In a group, ride in a staggered formation (each rider positioned to one side of the rider ahead) on multi-lane roads. This allows for braking and reaction space. Single-file is safer on two-lane roads or in corners.
- Pre-Ride Briefing: Discuss the route, hand signals, and any special considerations (like known road hazards or bike issues) before you start riding each day.
- Maintain Safe Following Distances: Always leave plenty of space between you and the rider in front.
