As one of the most iconic and legendary motorcycle manufacturers in the world, Harley-Davidson has been setting the standard for quality and innovation since its establishment in 1903.
Harley-Davidson crafts every aspect of its motorcycles with precision and excellence, from its signature roaring engines to its sleek and stylish designs. People often overlook the instrument panel lights essential to these magnificent machines. These small yet crucial lights provide riders with critical information and enhance the riding experience.
Here, we will dive into Harley Davidson Instrument Panel Lights, exploring their history, function, and the latest technological advancements. Whether you are a die-hard Harley enthusiast or a curious rider looking to learn more, this article will guide you through everything you need to know about these essential components of a Harley Davidson motorcycle.
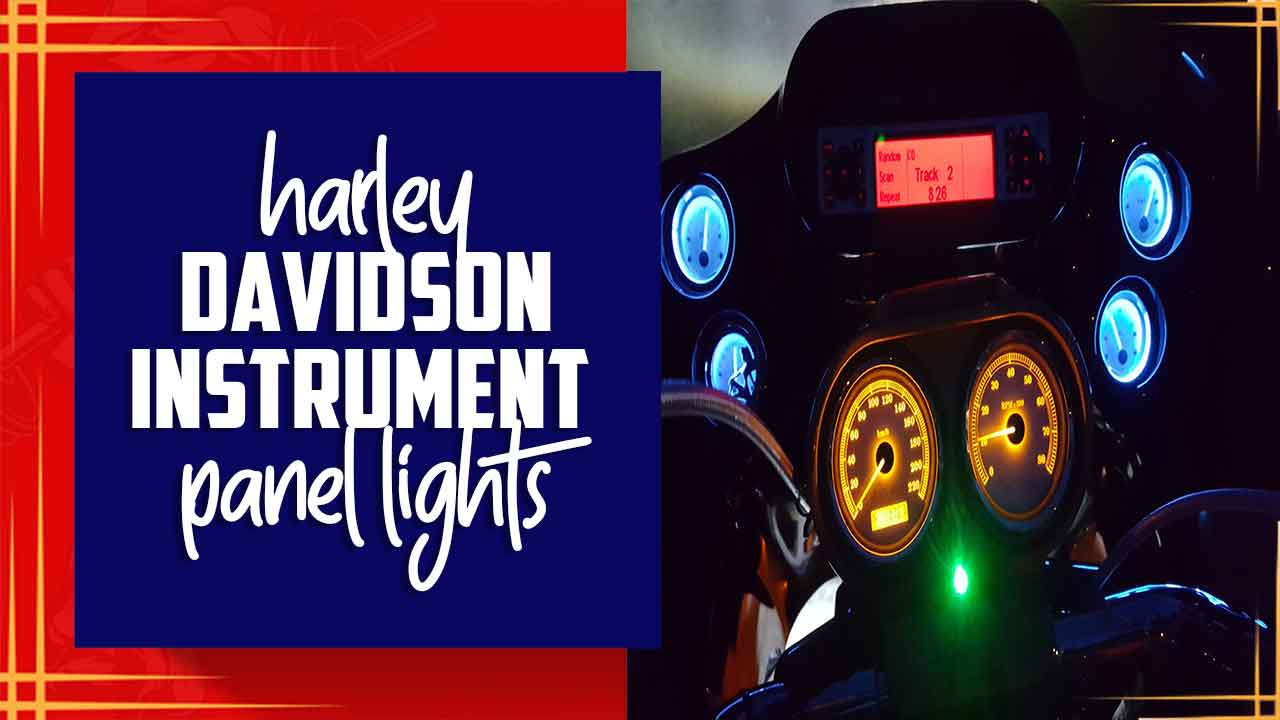
Overview Of Harley Davidson Instrument Panel Lights

The instrument panel lights on a Harley Davidson motorcycle provide important information to the rider about the bike’s functioning and status. The instrument panel typically includes various amber color indicator broken lights illuminating to alert the rider of specific conditions or issues. Some common instrument panel lights found on Harley Davidson motorcycles include:
- Turn Signal Indicator: This light flashes to indicate the turn signals are activated.
- High Beam Indicator: This light illuminates when the high beam headlights are turned on.
- Neutral Indicator: This light signifies that the motorcycle is in neutral gear, allowing the rider to start the engine.
- Oil Pressure Indicator: This light alerts the rider if there is low oil pressure, indicating a potential issue with the engine’s lubrication system.
- Battery Indicator: This light indicates the motorcycle’s negative battery status. It may indicate a charging system problem if it remains illuminated while riding.
- Engine Check Indicator: This light illuminates when the motorcycle’s onboard diagnostic system detects a potential issue with the engine or other crucial components.
Common Problems With Harley Davidson Instrument Panel Lights And How To Fix Them
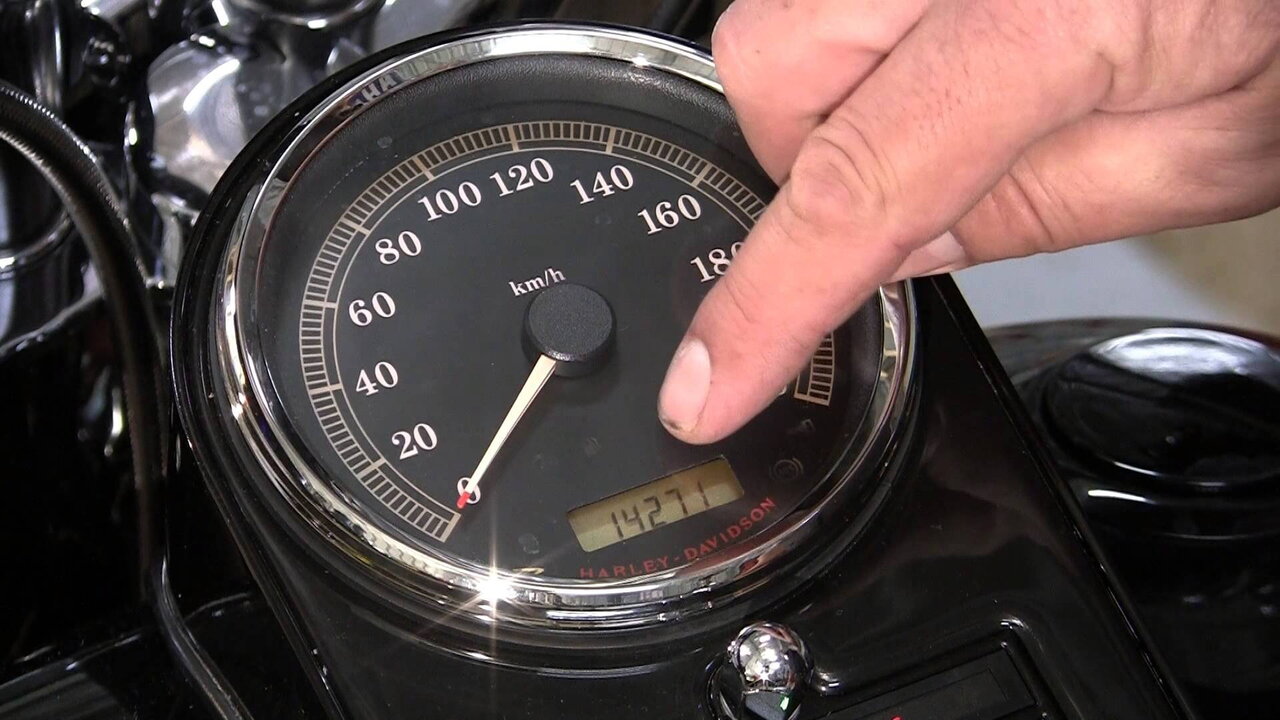
Harley Davidson, a renowned name in the motorcycle industry, is known for its iconic bikes and innovative features. One such feature that enhances the overall riding experience is the instrument panel lights. The instrument panel in front of the rider provides vital information about the bike’s performance, ensuring a safe and efficient ride. Common Problems with Harley Davidson Instrument Panel Lights and How to Fix Them:
- Dim Or Flickering Lights: This issue can be caused by a faulty bulb or a loose connection. Check the bulb and ensure it is properly seated to fix it. If the bulb is fine, inspect the wiring and tighten any loose connections. If the problem persists, replacing the bulb or seeking professional assistance may be necessary.
- Complete Loss Of Instrument Panel Lights: If all the lights on your instrument panel stop working, the first thing to check is the fuse. Locate the fuse box and inspect the instrument panel light fuse. If the fuse blows, replace it with a new one of the same rating. If the fuse keeps blowing, an underlying electrical issue may require professional diagnosis and repair.
- Inconsistent Or Erratic Display: If the instrument panel lights flicker or display incorrect information, it could indicate a wiring or grounding issue. Start by checking the wiring connections for any signs of damage or corrosion. Ensure that all connections are tight and secure. If the problem persists, you consult a Harley Davidson dealership or a qualified mechanic for further troubleshooting.
- Backlight Failure: If the backlight behind the instrument panel fails, it can make reading the gauges and indicators difficult. A faulty backlight bulb often causes this problem. To fix it, locate the bulb behind the instrument panel and replace it with a new one.
Dim Or Flickering Lights

Diming or flickering lights on the instrument panel of a Harley Davidson motorcycle can be a common issue that riders encounter. However, several solutions are available to address this problem and ensure optimal visibility while riding.
One possible solution is to check the engine light for the battery connections and ensure they are clean and tight. Loose or corroded connections can lead to poor electrical contact and dim or flickering lights. Tightening the connections or cleaning any corrosion can often resolve the issue.
Another solution is to inspect and replace faulty bulbs in the instrument panel. Over time, bulbs can wear out or become damaged, leading to dim or flickering LED dash lights. By replacing these bulbs with new ones, the brightness and stability of the lights can be restored.
Solutions
Harley Davidson, a renowned motorcycle manufacturer, has always been synonymous with innovation and quality. One of the significant features that sets Harley Davidson motorcycles apart is their instrument panel lights. These instrument panel lights play a vital role in providing crucial information to riders, ensuring a safe and enjoyable riding experience. Here are some solutions for dim or flickering lights on a Harley Davidson instrument panel:
- Check The Battery: Make sure the battery is properly charged and in good condition. A weak or faulty battery can cause issues with the instrument panel lights.
- Inspect The Wiring: Check for loose or damaged connections. Secure any loose connections and repair or replace any damaged wires.
- Clean The Connections: Remove any corrosion or dirt buildup using a wire brush or contact cleaner. Dirty connections can cause poor electrical conductivity and affect the brightness of the lights.
- Replace The Bulbs: If the lights continue to flicker or are very dim, it may be necessary to replace the bulbs. Use the correct type and wattage of bulbs recommended by Harley Davidson.
- Check The Voltage Regulator: A faulty voltage regulator can cause inconsistent power supply to the instrument panel lights. Have it tested and replaced if necessary.
- Consult A Professional: If the issue persists or if you are not comfortable performing these troubleshooting steps, it is recommended that you consult a Harley Davidson dealership or a qualified motorcycle mechanic for further assistance.
Lights Not Turning On
When the instrument panel lights on a Harley Davidson motorcycle fail to turn on, it can indicate various issues. A blown fuse could be one possible cause, and it is easily replaceable. Another potential culprit could be a faulty bulb or a loose connection. Inspecting and replacing the bulb or tightening the connection may be necessary in such cases.
A malfunctioning switch or a problem with the wiring harness can also result in the lights not turning on. It is advisable to consult a professional technician to diagnose and fix the problem if troubleshooting these common issues does not resolve it. Ensuring that the instrument panel lights are functioning properly is essential for maintaining visibility and ensuring a safe riding experience on a Harley Davidson motorcycle.
Solutions
Harley Davidson designs the instrument panel lights on their motorcycles with utmost precision and functionality. The instrument cluster strategically places them, providing clear visibility to the rider, even in low-light conditions. Engineers design these lights to display essential information such as speed, fuel level, engine temperature, and other vital metrics that aid in monitoring the motorcycle’s performance. Here are some possible solutions if the instrument panel lights on your Harley Davidson motorcycle are not turning on:
- Check The Fuse: Inspect the fuse related to the instrument panel lights. If the fuse blows, replace it with a new one of the same rating.
- Check The Bulb: If the fuse is not the issue, check the bulb itself. Ensure you properly seat it in its socket and that it is not burnt out. If necessary, replace the bulb with a new one.
- Check The Wiring Connections: Inspect the connections to the instrument panel lights. Look for any loose or damaged wires. Ensure that all connections are secure and free from corrosion.
- Test The Switch: Use a multimeter to test the switch that controls the instrument panel lights. When you turn on the switch, check for continuity. If there is no continuity, the switch may be faulty and require replacement.
- Check The Battery: Low battery voltage can sometimes cause issues with the instrument panel lights. Ensure you fully charge the battery and check that it is in good condition. If not, charge or replace the battery as needed.
Lights Stay On Even When The Motorcycle Is Off

The instrument panel lights on a Harley Davidson motorcycle remain on even when the motorcycle is turned off. This is a unique feature of Harley Davidson motorcycles, designed to ensure visibility and convenience for riders.
These investment filler check engine warning lights provide essential information to the rider, such as fuel level, speed, and engine temperature, even when the motorcycle is not in use. This allows riders to easily check these vital statistics without turning on the motorcycle or relying solely on external lighting conditions. The illuminated instrument panel adds to the overall aesthetic appeal of the Harley Davidson motorcycles, giving them a distinctive and recognizable look both during the day and at night.
Solutions
The Harley Davidson instrument panel lights are functional and aesthetically pleasing. The brand understands the importance of creating an immersive riding experience, and the instrument panel lights are no exception. The lights have specific designs to be visually appealing, with a sleek and modern look that complements the overall design of the motorcycle. When the instrument panel beam green indicator light on a Harley Davidson motorcycle stays on even when turned off, it could be due to a few possible solutions.
- Ignition Switch Issue: One potential cause is a faulty ignition switch. When the motorcycle is turned off, the switch may not fully disengage, causing the lights to remain on. In this case, replacing the engine from the ignition switch may be necessary.
- Wiring Problem: Another possibility is a wiring issue. There could be a short circuit or a loose connection in the wiring that is causing the lights to stay on. Inspecting the wiring harness and checking for any damaged or loose wires can help identify and resolve this issue.
- Faulty Relay: A malfunctioning relay could also be the culprit. The relay that controls the instrument panel lights may become stuck in the normal position, even when the motorcycle is turned off. If necessary, testing and replacing the relay can help rectify this problem.
How To Replacing Harley Davidson Instrument Panel Lights

Furthermore, Harley Davidson ensures that the instrument panel lights are built to last. The brand’s commitment to quality is reflected in the durability and longevity of these lights. They are made from high-quality materials that can withstand the rigours of the road, ensuring that they will continue to provide accurate and reliable information to riders for years to come.
- Turn off the motorcycle and locate the instrument panel lights on the Harley Davidson.
- Use a screwdriver or a suitable tool to carefully remove the screws or clips holding the instrument panel cover in place.
- Lift off the instrument panel cover and find the faulty bulb you need to replace.
- Gently twist the bulb counterclockwise to remove it from its socket.
- Insert the new bulb into the socket and twist it clockwise to secure it in place.
- Replace the instrument panel cover and fasten it with the screws or clips.
- Turn on the motorcycle to test the new instrument panel light. Ensure that it is functioning properly.
- If the light is not working, check the wiring and connections to ensure they are secure.
- Consult the Harley Davidson owner’s manual or seek professional guidance if necessary.
How To Check If Your Instrument Panel Lights Are Working Properly
Check if your motorcycle has anti-lock braking systems (ABS), as this will have an ABS light. When the ignition is switched on, the oil pressure light should go out after starting the engine. If it stays on or illuminates while riding, it may suggest a problem with the electrical system.
A bad or loose connection, frayed wire, or electrical short in your dash light’s circuitry can cause gauge displays not to glow. If the ignition light remains on or illuminates while riding, it may suggest a problem with the electrical system. A motorcycle may fail to start if the battery needs replacing or fails to charge. Make sure all instrument panel lights are functioning properly before riding.
Why Should Upgrade Your Instrument Panel Lights?
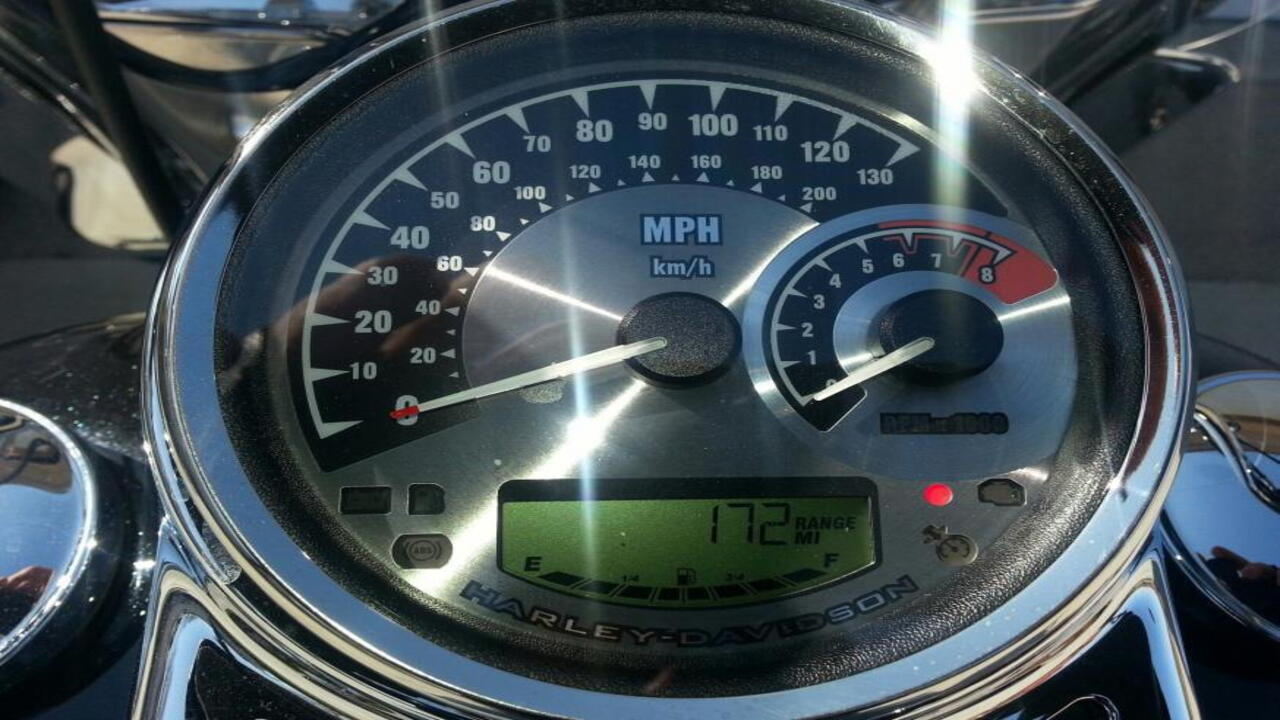
Instrument panel lights (IPLs) are vital to riding a motorcycle. They provide essential visibility for riders, making them more visible to other road users and reducing the risk of accidents. However, with the increasing popularity of LED dash indicator warning lights, riders need to know their benefits and how to use them correctly.
Unlike traditional bulbs, which can be damaged easily and cause a serious fire hazard, LED lights do not get affected by weather or UV light, last longer than traditional bulbs, and require less power. This makes them a cost-effective option for riders.
Besides being brighter and more efficient, they also provide brighter light with less heat, making them more comfortable for riders. Also, when used as an IPL, multiple LEDs can create a custom illumination effect, giving riders even more visibility on the road ahead. This helps them avoid potential hazards and have safer rides.
Tips For Choosing The Right Instrument Panel Light For Your Harley Davidson Motorcycle
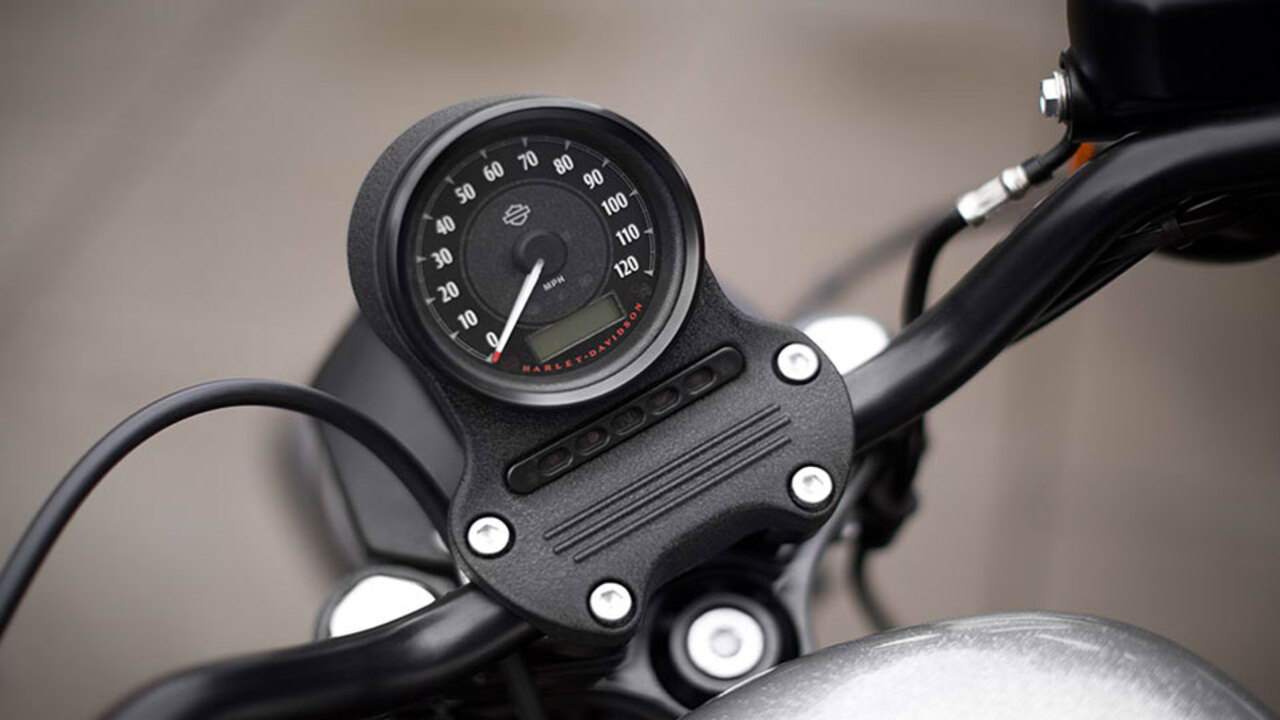
Harley-Davidson instrument panel lights have specific designs carefully, ensuring maximum visibility and readability in all lighting conditions. Whether it’s a bright sunny day or a dark moonlit night, these lights are engineered to provide optimal illumination, allowing riders to easily monitor their speed, fuel levels, engine temperature, and other essential metrics. Here are Tips For Choosing The Right Instrument Panel Light For Your Harley Davidson Motorcycle:
- Consider The Compatibility: Make sure to choose an instrument panel light specifically designed for Harley Davidson motorcycles.
- Check The Brightness: Look for a light that offers sufficient brightness to illuminate the instrument panel clearly, especially in low-light conditions.
- Opt For LED Lights: LED lights are popular for their longevity, energy efficiency, and brighter illumination, making them a great choice for instrument panel lights.
- Pay Attention To Color Options: Some instrument panel lights offer different color options, allowing you to customize the look of your Harley Davidson motorcycle.
- Consider Ease Of Installation: Look for lights that are easy to install and require minimal modifications to your motorcycle’s dashboard.
- Read Customer reviews: Review reviews from other Harley Davidson motorcycle owners to get insights into the quality and performance of different instrument panel lights.
- Consider The Overall Durability: Look for lights built to withstand harsh weather conditions and vibrations commonly experienced while riding a motorcycle.
- Set A Budget: Determine your budget and look for instrument panel dashboard lights that balance quality and affordability.
- Seek Professional Advice: If you’re unsure which instrument panel speedo light to choose, consult a Harley Davidson specialist or a professional motorcycle mechanic.
Conclusion
Harley Davidson has been a motorcycle design and development pioneer for decades. Their motorcycles have earned the reputation for being some of the most reliable, comfortable, and capable vehicles on the road. From the first motorcycle to use a swinging arm rear suspension system to the current crop of motorcyclists riding with illuminated Harley Davidson instrument panel lights, their innovations have always been ahead of their time.
As technology advances, we expect to see even more innovative and sleek instrument panel designs from Harley Davidson. So next time you hit the open road on your Harley, take a moment to appreciate the functionality and style of your instrument panel rear light.
Frequently Asked Questions
Why Are All My Instrument Panel Lights On?
There could be several reasons why all your instrument panel common warning lights are on. It could be due to a faulty electrical connection, a malfunctioning sensor, or a problem with the vehicle’s computer system.
What Do Motorcycle Dash Warning Lights Mean?
Motorcycle dash warning lights are indicators that alert riders to potential issues or malfunctions in their motorcycles. These Brighten Dash Lights illuminate to warn riders about low fuel levels, engine problems, battery issues, tire pressure, and other important factors that may require attention.
Why Are The Lights Not Working On My Instrument Panel?
There could be several reasons why the bank of lights on your instrument panel is not working. It could be a blown fuse, a faulty bulb, a wiring issue, or a malfunctioning instrument cluster.
Why The Light Is Not Working?
There could be several reasons why the key light is not working, such as a blown fuse, a faulty bulb, a loose or damaged wire, or a problem with the switch or socket. Check if the bulb needs replacing or if the fuse has blown.
