Harley Davidson motorcycles are popular for their iconic and powerful design that has captivated riders for decades. However, these bikes require regular maintenance and occasional repairs like any mechanical device.
The fork lock is one of the most common and crucial components that often needs replacement. This essential part secures the front wheel and handlebar lock and provides security against theft. Over time, the fork lock can become worn, damaged, or even broken, making it necessary to replace it.
Here, we will guide you to fork lock replacement for Harley Davidson and know your signs that indicate it may need to be replaced. Whether you are a seasoned rider or a new Harley owner, understanding the ins and outs of fork lock replacement will ensure your motorcycle’s safety and smooth operation.
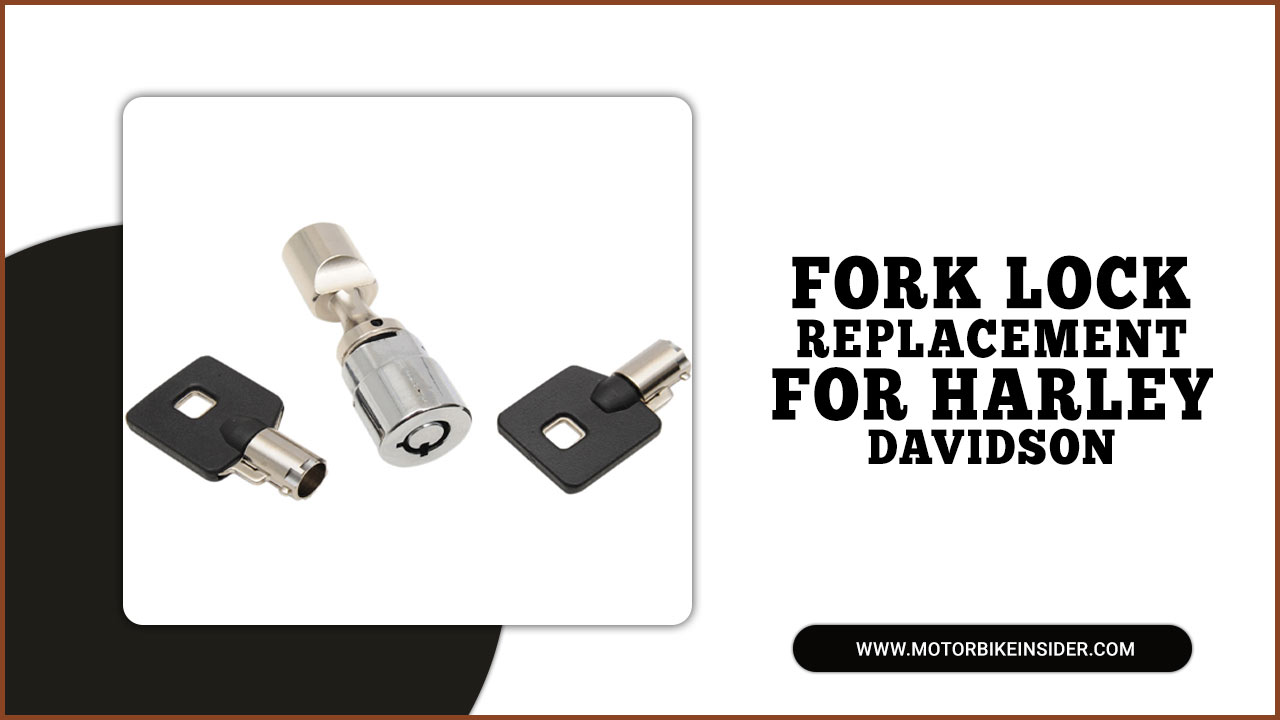
Signs Of A Faulty Fork Lock
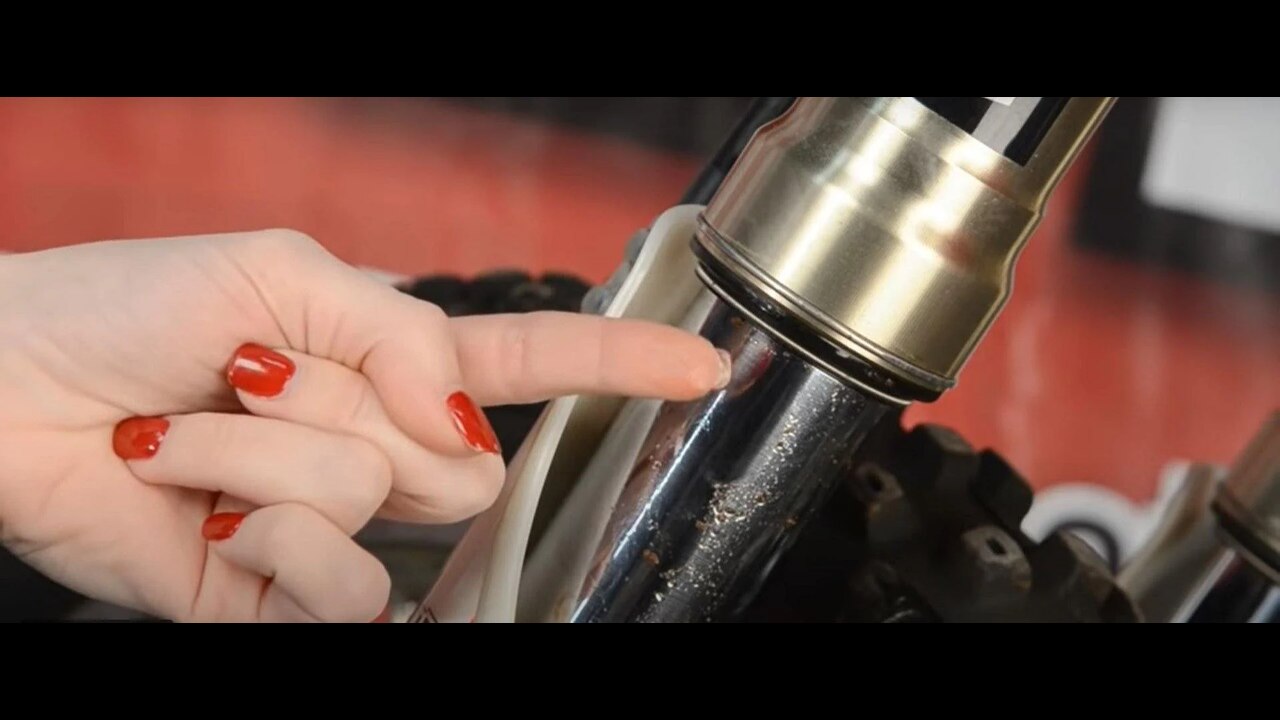
maintaining the longevity and performance of your beloved Harley Davidson motorcycle, certain components require regular inspection and replacement. One such crucial part is the fork lock. The fork lock is a security mechanism preventing unauthorized access and protecting your valuable investment.
- Difficulty in turning the fork ignition lock key.
- The fork lock is not engaging or disengaging properly.
- The fork lock feels loose or wobbly.
- The fork lock can become stuck in either the locked or unlocked position.
- Strange noises or grinding sounds when using the fork lock.
- The fork lock is not holding the motorcycle securely in place.
- Visible damage or wear on the fork lock mechanism.
- The fork lock fails to prevent unauthorized movement of the motorcycle.
Fork Lock Replacement For Harley Davidson: How To Replace
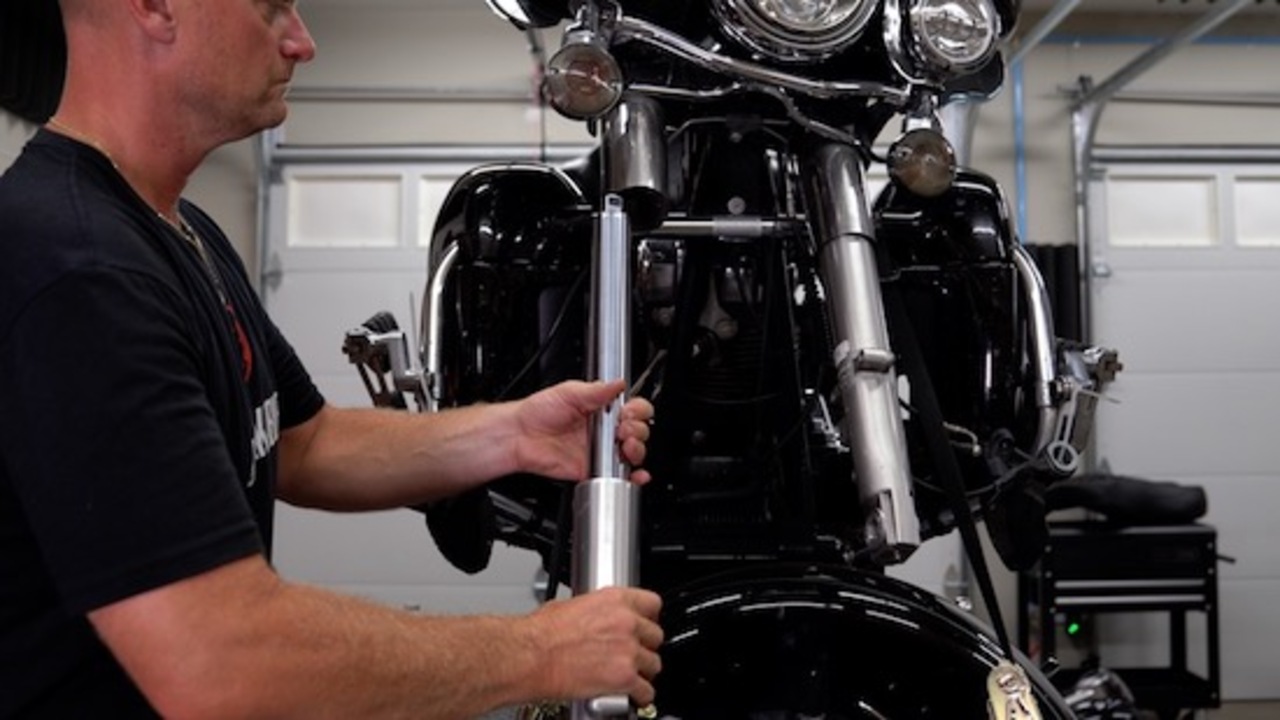
Harley Davidson has five types of motorcycles: Softail, Touring, etc. Fork lock type replacement for Harley Davidson refers to replacing the existing fork lock mechanism on a Harley Davidson motorcycle with a new one. The fork lock is a security feature that allows the rider to lock the front forks in a straight position, preventing the motorcycle from being easily moved or stolen.
Replacing the fork lock on a Harley Davidson, it is recommended to seek the assistance of a professional mechanic or a Harley Davidson dealership. Generally, the process involves removing the old fork lock assembly, installing the new fork matching lock, and ensuring it functions correctly. Here, we will show you the fork lock replacement for the Touring models. You can easily remove the forklift for an upgrade or repair work.
Things you will need:
- 3/8″ socket set and wrench
- Allen wrench socket (6mm deep)
- 24″ long and 1-1/2″ size PVC pipe (including coupler)
- Soft jaws and fork holder
- Measuring tools for fork oil
- Torque wrenches
Step 1: Removing Headlight, Windshield, And Fairings
To replace the front fork lock, you must remove the exterior parts properly before working with your Harley’s fender and front wheel. It includes windshields, fairings, and headlights. Follow the owner’s manual to remove these parts by loosening the screws properly.
If you find removing the headlight or fairings hard, you may watch YouTube videos on removing the Harley headlight and windshield. The first step in replacing the fork lock on a Harley Davidson involves removing the headlight, windshield, and fairings.
This is an essential part of the process, providing access to the fork lock mechanism. To begin, carefully detach the headlight by disconnecting any electrical connections and removing any mounting screws or bolts. Next, if your Harley Davidson is equipped with a windshield, remove it by loosening the mounting hardware and gently lifting it off.
Step 2: Removing The Front Wheel And Fender
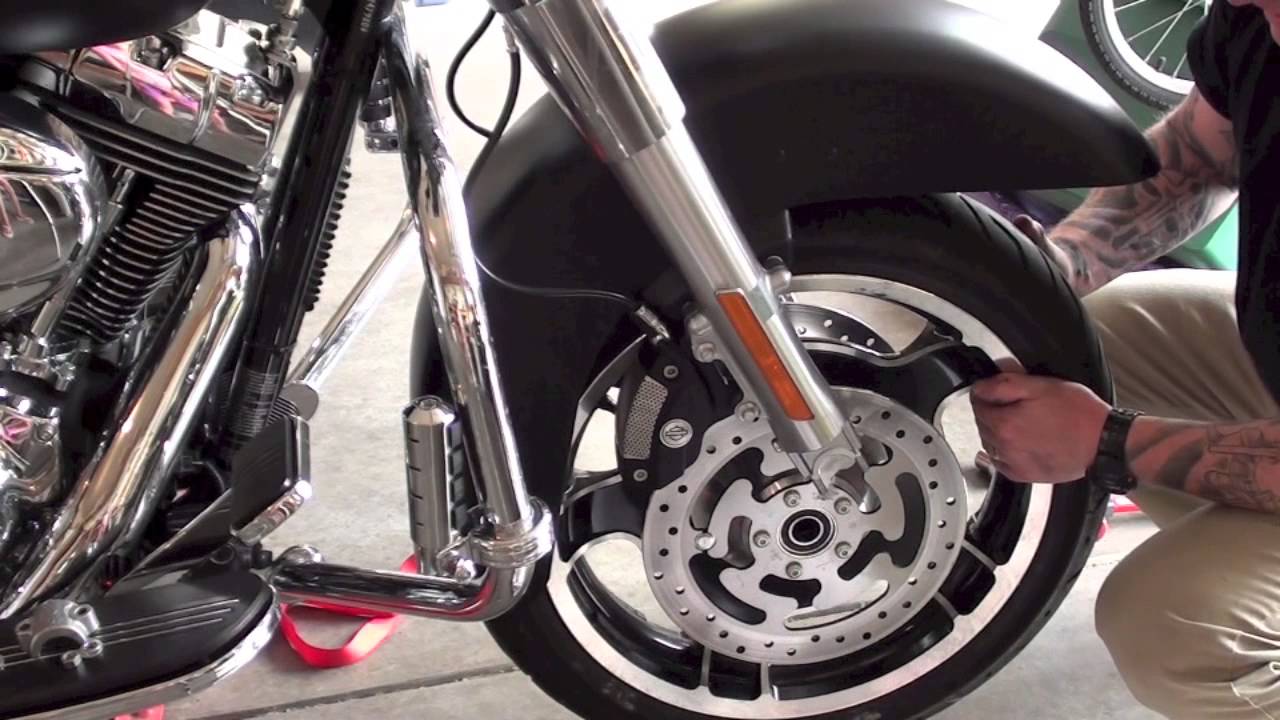
removing the front wheel and fender. Start by locating the axle nuts on both sides of the front wheel. Using the appropriate size socket wrench, carefully loosen and remove these nuts. Next, locate the brake calliper mounting bolts and loosen them as well. This will allow you to remove the brake calliper from the front wheel. To remove the front wheel from the forks, gently slide it out after removing the brake calliper.
Take care not to scratch or damage the wheel during this process. You can now access the fender mounting bolts with the front wheel out of the way. Using the appropriate tools, carefully remove the bolts securing the fender to the forks. Ensure you track all the bolts and any associated washers or spacers. Once all the bolts are removed, carefully lift the fender off the forks and set it aside.
Step 3: Removal Of The Fork Tubes
To proceed with the fork lock replacement for your Harley Davidson, it is essential to remove the fork tubes from the motorcycle carefully. This step is crucial to gain access to the fork lock mechanism and replace it effectively. Secure the motorcycle in a stable position and ensure it is properly supported. This will prevent any accidents or instability during the removal process.
You may consider using a motorcycle lift or stand to elevate the front end and provide easier access to the fork tubes. Next, locate the pinch bolts that hold the fork tubes in place. Typically, these bolts are near the triple tree, the upper part of the fork assembly. Use an appropriate wrench to loosen these bolts, ensuring you do not fully remove them.
Step 4: Disassemble The Existing Fork
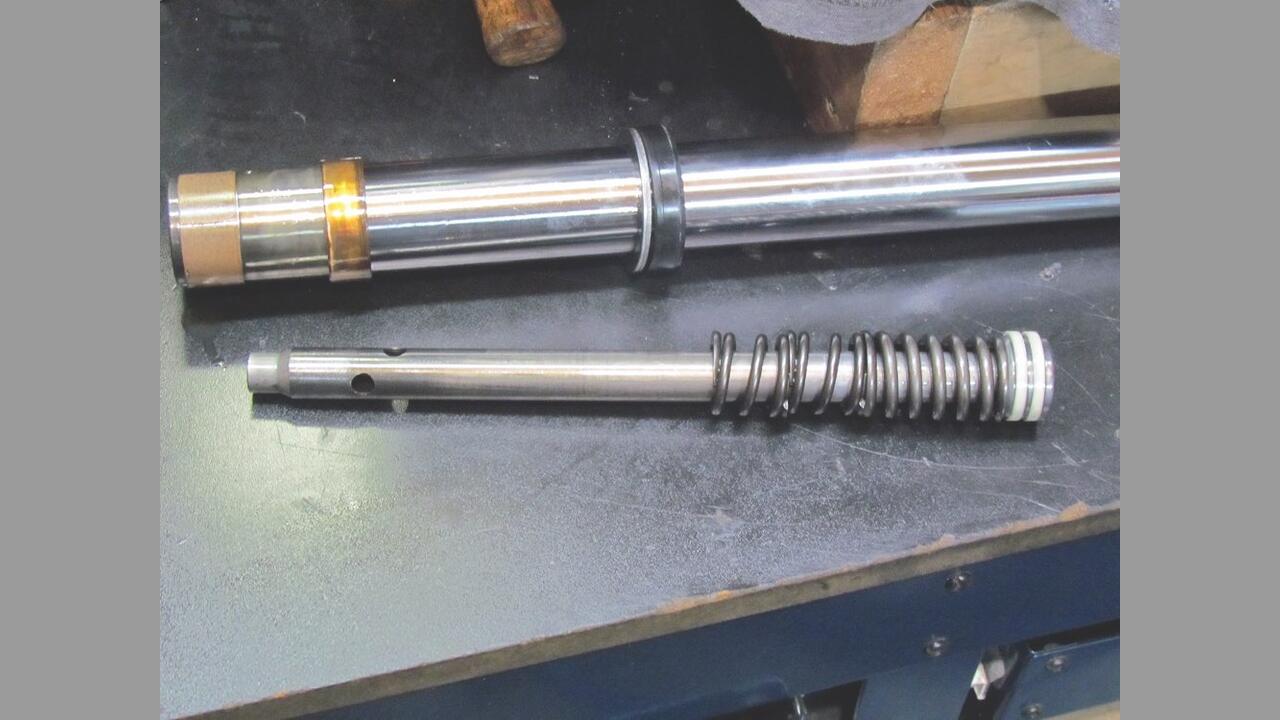
To properly replace the fork lock on your Harley Davidson, it is essential to disassemble the existing fork carefully. This step is crucial in ensuring a smooth and successful replacement process. Secure your motorcycle in a stable position, ensuring you support and balance it. This will prevent any accidents or damage during the disassembly process.
Next, locate the lock nut on the upper triple tree. Carefully loosen and remove the lock nut using the appropriate wrench or socket. Take caution not to damage any surrounding components or the triple tree itself. Once the lock nut is removed, you can detach the upper fork bracket. This bracket is usually secured with bolts or screws, depending on your Harley Davidson model. Carefully loosen and remove these fasteners, taking note of their location for reassembly later.
Step 5: Reassemble The Parts Of The Fork System
This step is crucial in ensuring the fork system functions properly and securely. Begin by carefully lining up the various components of the fork system, including the fork tubes, springs, dampers, and any other parts that were removed during disassembly.
It’s important to pay close attention to the alignment and positioning of each component to ensure a proper fit. After aligning all the parts, gently guide the fork tubes into the triple tree, ensuring they slide in smoothly. Ensure you securely seat and align the fork tubes with the fork lock assembly.
Step 6: Install The New Fork Lock
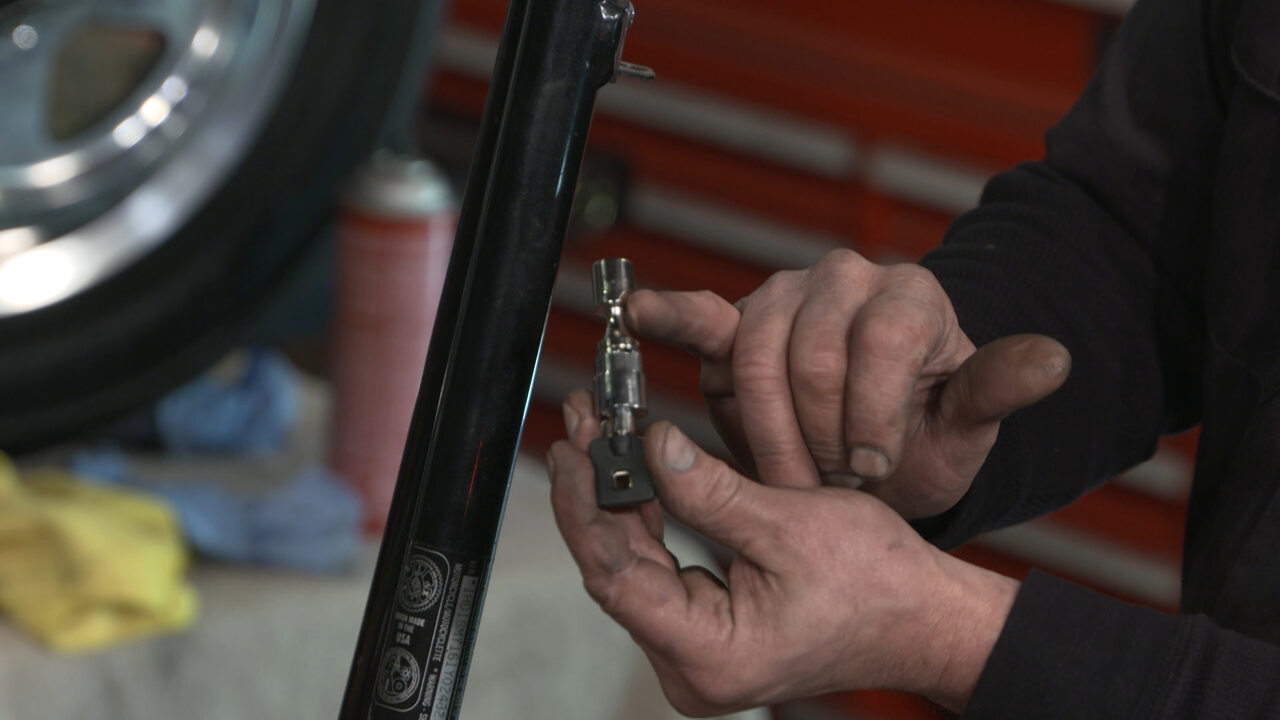
Start by removing the fork stem from the lock system. Locate the small lead plug and drill a 1/8″ hole through it. When you drill the hole, be careful not to damage the set screw. The screw sits right behind the lead plug, and once damaged, replacing it can be costly.
Use pliers set to remove the lead plug. Also, loosen the set screw on it. Now, you are all set to install the new fork lock that matches the Fork system of your Harley motorbike. Also, you might customize the fork lock with a beautiful Riders Passion Fork Lock Clock. This beautiful fork lock clock has a glossy, durable gloss black finish suitable for Road King models.
Step 7: Testing The Functionality Of The New Fork Lock
To begin testing, ensure the motorcycle is on a stable surface. Turn the handlebars fully to the left and engage the fork lock by inserting the key and turning it clockwise. The fork lock should securely hold the front wheel in place, preventing movement. Next, gently try to move the handlebars and front wheel.
The fork lock should provide a strong resistance, indicating that it works correctly. If there is any excessive play or movement, it may indicate a faulty installation or malfunctioning fork lock. Additionally, test the steering lock feature by turning the handlebars fully to the right and attempting to turn the key counterclockwise. The locked steering position is confirmed when the key does not turn.
Maintenance And Care Tips For Long-lasting Fork Locks

The inventory limit for fork lock replacements for Harley Davidson motorcycles is crucial to ensure these parts’ availability and proper maintenance. The United States is popular for its iconic Harley Davidson motorcycles. The orange finish on the fork lock replacement for Harley Davidson adds a vibrant and eye-catching touch to the bike’s overall look. Maintenance and Care Tips for Long-lasting Fork Locks:
- Regular Cleaning: Keep your fork corded locks clean by wiping them down regularly with a clean, damp cloth. This will help keep dirt, dust, and debris from accumulating and potentially causing damage.
- Lubrication: Apply a small amount of lubricant to the fork lock mechanism to ensure smooth operation. Be sure to use a lubricant specifically designed for locks, as using the wrong type can cause build-up or damage.
- Avoid Excessive Force: Avoid applying excessive force or twisting the key too forcefully when using the fork lock. This can cause the lock mechanism to wear down or break over time.
- Protect from Weather Elements: If your motorcycle is exposed to the elements, consider investing in a cover or parking it in a sheltered area to protect the fork locks from rain, snow, and extreme temperatures. This can help prevent rust and corrosion.
- Regular Inspection: Periodically inspect the fork locks for any signs of wear, damage, or loose components. If you notice any issues, shipping and addressing them promptly is important to prevent further damage.
- Professional Maintenance: Consider having your fork locks inspected and serviced by a professional regularly, especially if you notice any issues or concerns. They can ensure everything is in proper working order and make necessary adjustments or repairs.
How Do You Unlock Harley Forks?
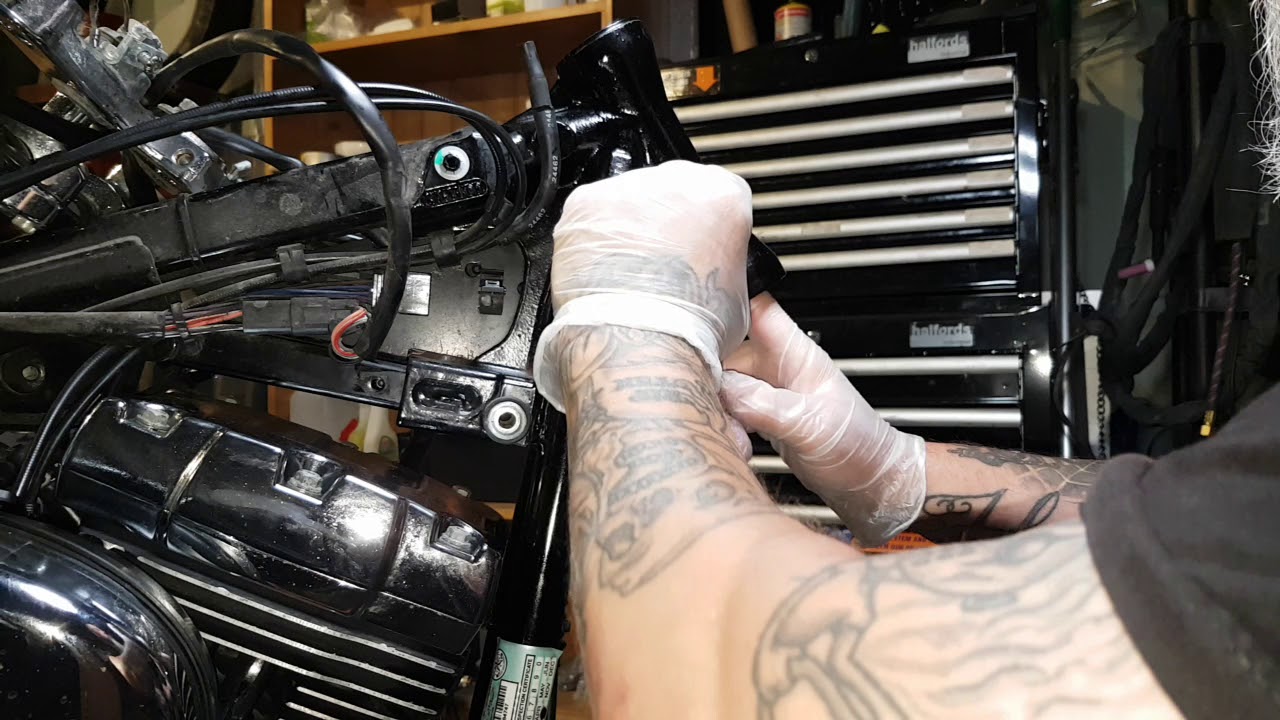
Customers should always double-check the shipping details, such as estimated delivery time and any additional costs, before finalizing their purchase of a fork lock replacement for their Harley Davidson motorcycle. The product fork lock Replacement is a must-have for any Harley Davidson owner looking to enhance their bike’s security. To unlock Harley forks, you need to follow the steps below:
- Start by locating the fork lock on your Harley Davidson motorcycle. It is typically located near the front fork on the right side of the frame.
- Insert the ignition switch lock key into the fork lock and turn it clockwise to unlock the forks.
- While holding the key in the unlocked position, apply slight pressure to the handlebars to release tension on the forks.
- After unlocking the forks, maneuvering the motorcycle becomes effortless as you can simply turn the handlebars.
Note: If you are experiencing difficulty unlocking the forks or if the fork lock is damaged, consult a professional mechanic or contact your local Harley-Davidson dealership for assistance.
Conclusion
The fork lock replacement for Harley Davidson system is an easy and fast process. However, the most challenging part comes with the fork replacement. Therefore, we have shown you both ways to replace the fork and fork lock to customize your Harley just as you want. Although replacing or reinstalling the fork lock can be tough, this DIY replacement project is worth the time investment.
Following the steps outlined in this post and seeking assistance from a trusted mechanic if needed, you can ensure that your Harley Davidson is equipped with a secure and functioning fork lock for safe and enjoyable rides. Remember, proper maintenance is key to extending the lifespan of your motorcycle and ensuring a smooth riding experience.
Frequently Asked Questions
Do Harleys Have Steering Locks?
Yes, most Harley-Davidson motorcycles have steering locks. These locks have specific designs to prevent the handlebars from being turned and the motorcycle from being easily maneuvered when parked or left unattended. This feature adds an extra layer of security to protect against theft.
What Is The Best Type Of Steering Wheel Lock?
The best type of steering wheel lock is a high-quality, heavy-duty lock that is easy to use and difficult to tamper with. Features include a strong construction, a secure locking mechanism, and a design that fits snugly around the steering wheel.
Are Motorcycle Steering Locks Effective?
Yes, motorcycle steering Harley-Davidson switch fork lock kit can be effective in preventing theft to some extent. These locks immobilize the handlebars, making it difficult for thieves to steer or ride away with the motorcycle.
What Is Electric Steering Lock?
An electric steering lock is a security feature in modern vehicles that automatically durable fork steering locks the steering wheel when the engine is turned off, or the key is removed from the ignition. The design prevents unauthorized use of the vehicle by immobilizing the steering mechanism.
What Is Steering Lock System?
A steering lock system is a security feature that prevents the steering wheel from turning without the proper key. The design aims to deter theft by challenging vehicle operations for unauthorized persons.

It agree, the remarkable message
Thank You Local Number 🙂