The Harley air shock pressure chart is for a suspension system. That enables you to ride on Route the Rails with the smoothness and comfort of air shocks.
However, Air shocks make it possible for a motorcycle to absorb the shock generated by bumps in the road or uneven terrain. They lessen suspension movement and also allow the driver to control suspension movement. While most bikes come with air shock systems as standard equipment, many ways exist to personalize their ride.
From determining the pressure needed when riding a Harley-Davidson motorcycle to determining the type of shock an air-dynamic system works best with, we’ve got you covered. But before we get into all that, let’s understand what an air shock system is on a Harley Davidson motorcycle and how it works.

What Is A Harley Air Shock Pressure Chart?
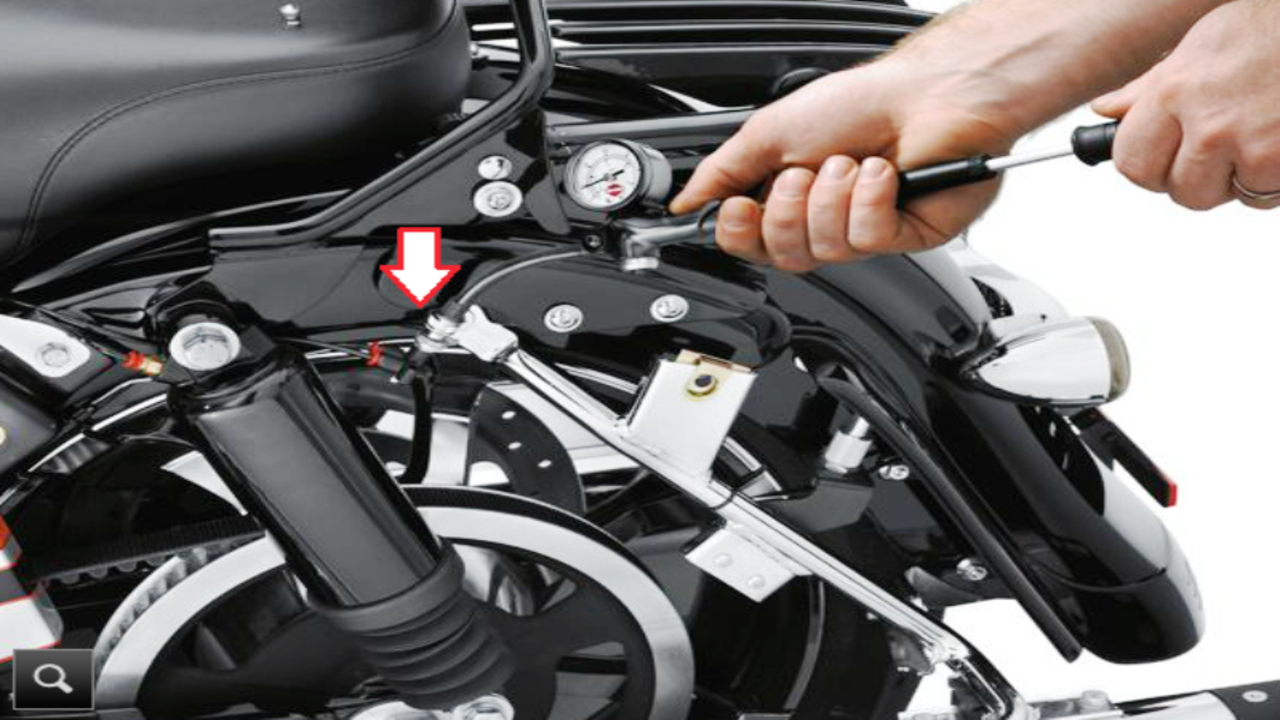
A Harley air shock pressure-chart is a tool motorcycle riders use to ensure that the air shocks on their bike are properly set up with the correct air pressure. The chart recommends a maximum air pressure of 50 psi for the suspension air system. Shocks in FLH models and 35 psi for other models.
However, it is up to the individual to determine the correct ride pressure air pressure for their specific bike with air shocks. Motorcycle air shock pumps can be used to adjust air volume precisely. You should adjust air pressure to accommodate the current load, and gauge readings should not exceed 60 psi (1034 kPa). Proper air pressure setting will help prevent the shock from worsening, potentially causing damage or failure.
The Importance Of Pressure In Harley Air Shocks
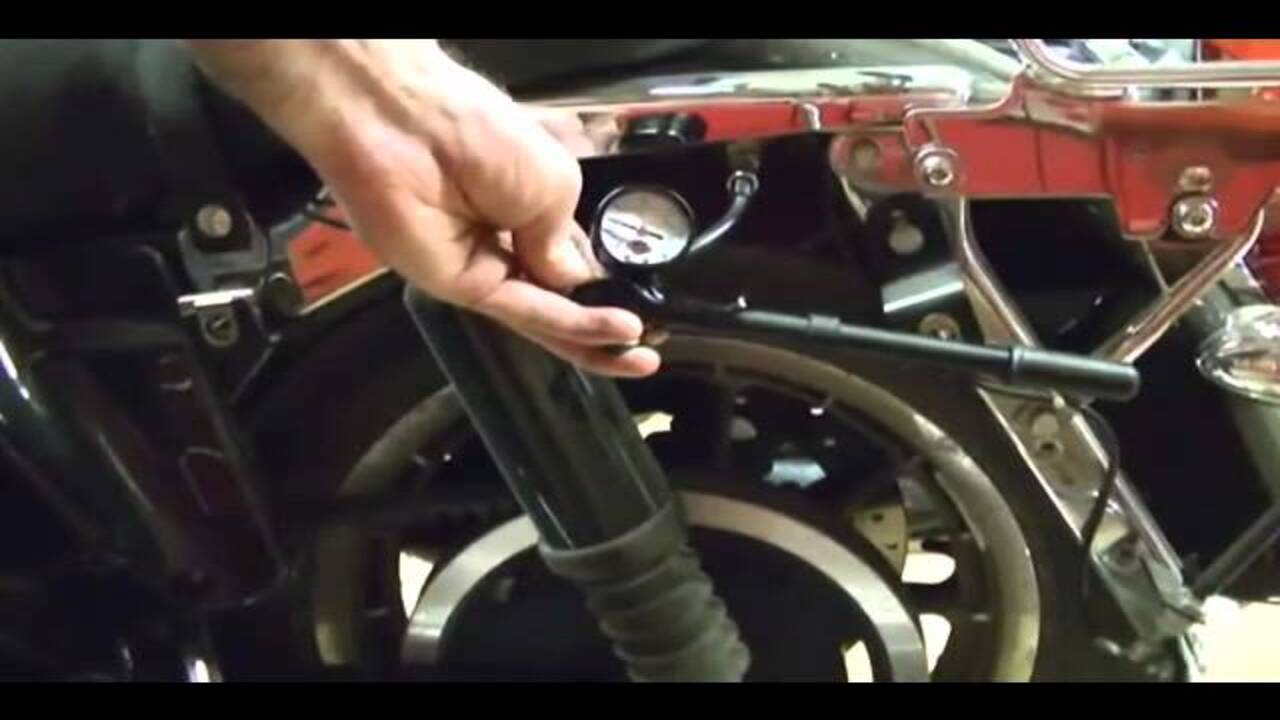
The air stock shocks on Harley-Davidson motorcycles are adjusted to accommodate the load you will put on your motorcycle. The engineers designed them to provide sufficient absorption and support for the vehicle’s body weight. However, they can become overstressed and lose their ability to handle road forces if continuously over-inflated effectively.
The air pressure in air shock must be within a specified range for the suspension to work properly. To avoid this issue, it’s important to regularly check the air lbs of pressure in your air shock and make any necessary adjustments. This will ensure that your suspension performs at its best in riding conditions.
A Guide To Understanding The Harley Air Shock Pressure Chart
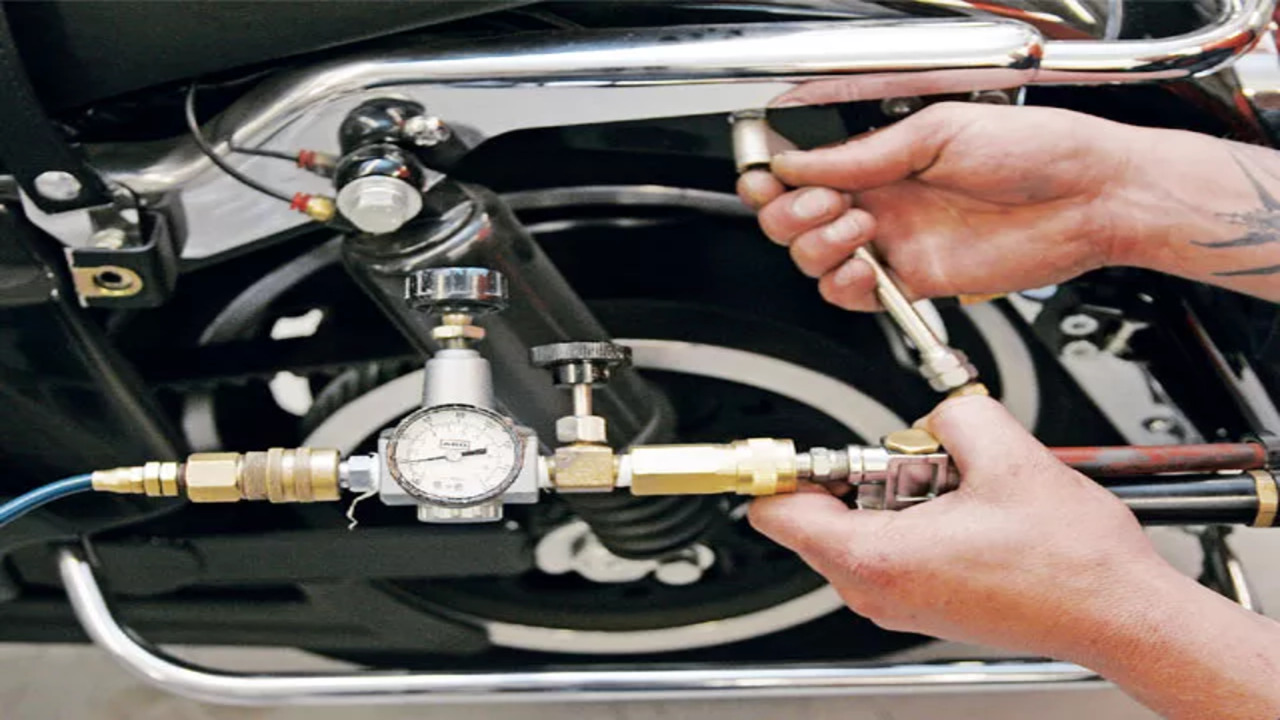
Regarding air shocks, Harley-Davidson recommends an air pressure adjustment for their motorcycle air shocks based on the weight of the carried load. This means that when riding with a heavier load, such as a passenger or luggage. You should use less air pressure to ensure the suspension absorbs the extra weight without bottoming out.
On the other hand, if you’re carrying a lighter load, such as groceries or clothing, you should use more air pressure to provide a smooth ride. The recommended air pressure for the Harley Air Shock Pressure Chart is between 3-5 psi (21-35 kPa) before releasing air from the valve. With a maximum of 50 psi (345 kPa) for FLHX models and 35 psi (241 kPa) for other models.
| HOCK LOAD | TOTAL WEIGHT | PRESSURE |
| PSI | KPA | |
| Solo rider | up to 68 kg (150 lb) | 5-10 |
| 68-91 kg (150-200 lb) | 10-20 | 69-138 |
| 91-130 kg (200-250 lb) | 20-30 | 138-206 |
| 113-136 kg (250-300 lb) | 30-40 | 206-276 |
| 136 kg (300 lb) to maximum added Weights allowed.” | 40-50 | 276-345 |
| Solo rider with a capacity luggage of 32 kg (70 lb) | up to 68 kg (150 lb) | 25-30 |
| 68-91 kg (150-200 lb) | 30-40 | 206-276 |
| 91-130 kg (200-250 lb) | 40-50 | 276-345 |
| 113-136 kg (250) to maximum added Weights allowed.” | 50 | 345 |
| Rider plus passenger | Any Weights to maximum added Weights allowed.” | 50 |
| Maximum loaded vehicle | maximum added Weights allowed.” | 50 |
How To Read The Harley Air Shock Pressure Chart
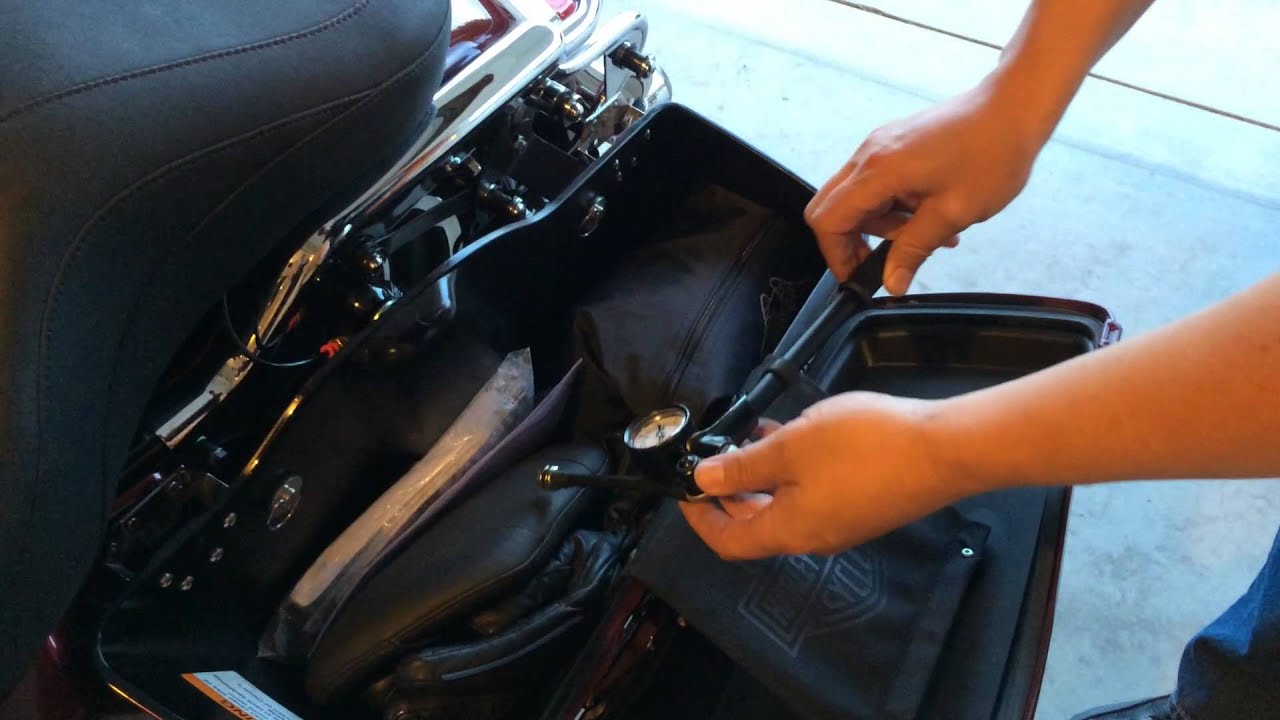
You can use the Harley air shock pressure chart to read the air shock pressure. You can use the Motorcycle Air Pump and Gauge (P/N PV-48909) for this purpose. The adjustment of the factory shocks air shocks is relative to the amount of weight being carried. You will adjust the air pump when a heavier rider rides to generate more air pressure.
The air valve can be located on the left side of the motorcycle, inside the rear saddle bag. It would help if you used a hand-operated pump with a controllable microbleed valve to adjust air volume. You should take gauge readings to ensure the pressure does not exceed the maximum psi. Doing so will prevent damage to the motorcycle’s suspension and proper rear tire inflation.
Ways To Adjust The Air Shock Pressure On A Harley Motorcycle
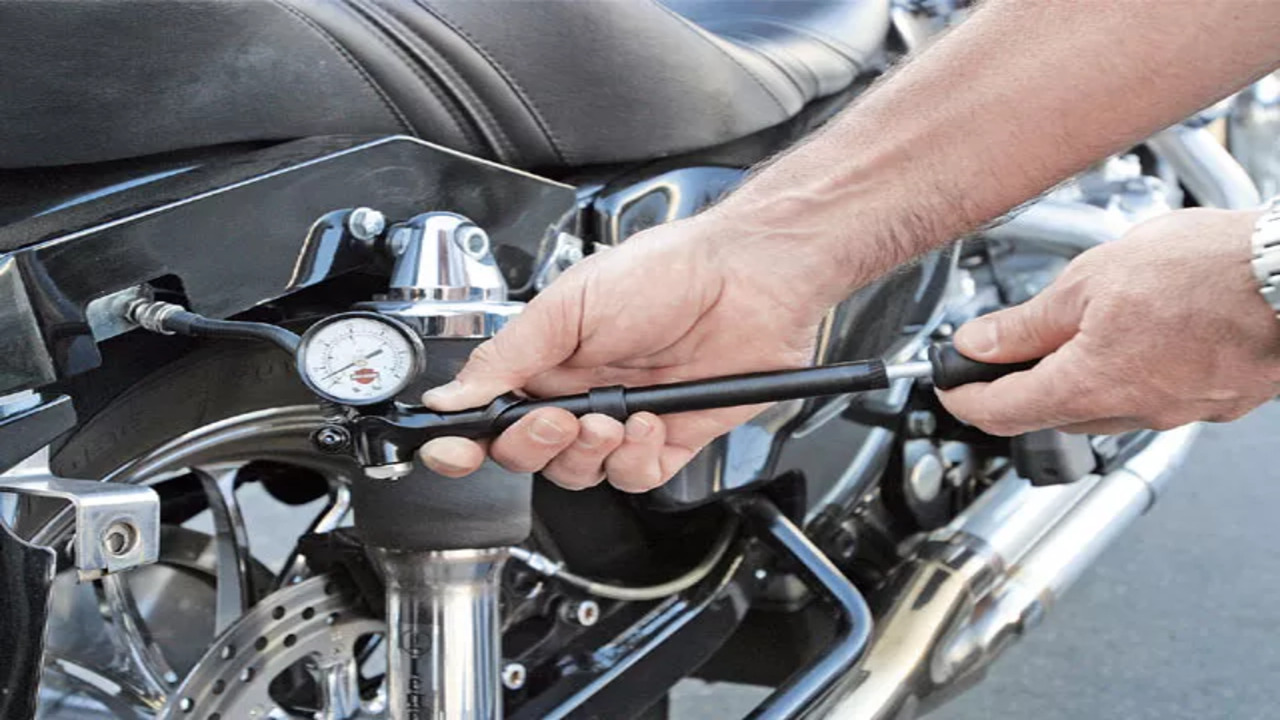
Adjusting the air shock pressure on a Harley motorcycle is an important part of maintaining optimal performance and comfort while riding. Remember, it’s important to regularly check and adjust your Harley’s air shock pressure according to your riding preferences and specific needs. Properly adjusted shocks can enhance your riding experience by providing better stability, control, and overall comfort on the road. Here are a few ways to adjust the air shock pressure on your Harley:
- Check The Manufacturer’s Guidelines: Before making any adjustments, consult your owner’s manual or the manufacturer’s guidelines for the recommended air shock pressure range for your specific model.
- Use A Quality Air Pump: Invest in a high-quality air pump with a built-in pressure gauge to ensure accurate measurements when adjusting the air shock pressure. It is important to use an appropriate pump that is designed for motorcycles to prevent any damage to the shocks.
- Determine your desired ride height and comfort level: Adjusting the air shock pressure allows you to fine-tune the ride height and overall comfort of your motorcycle. Experiment with different pressures to find what works best for you.
- Start With Small Adjustments: Begin by making small adjustments, typically in increments of 5 psi, and test-ride your motorcycle after each adjustment to assess how it feels on the road.
- Consider Passenger Or Load Weight: If you frequently ride with a passenger or carry heavy loads, take this into account when adjusting the air shock pressure. Adding more air can help compensate for the additional weight and maintain proper suspension.
Important Safety Tips
When adjusting the air shock pressure on a Harley motorcycle, it is important to prioritize safety. By following these safety tips, you can ensure a smooth and safe adjustment of the air shock pressure on your Harley motorcycle. Here are some key safety tips to keep in mind:
- Follow The Manufacturer’s Instructions: Each Harley model may have specific guidelines for adjusting the air shock pressure. Make sure to consult your owner’s manual or reach out to a certified Harley technician for guidance.
- Use Proper Tools And Equipment: Ensure that you have the correct tools, such as a tire pressure gauge and an air pump, to measure and adjust the air shock pressure accurately.
- Check For Leaks Or Damage: Before making any adjustments, inspect the bikes with air shocks for any signs of leaks or damage. If you notice any issues, it is crucial to address them before proceeding.
- Make Incremental Adjustments: When adjusting the air shock pressure, make small incremental changes and test ride your motorcycle after each adjustment. This will allow you to assess how the changes affect the ride quality and make additional adjustments if necessary.
- Ride Cautiously: After adjusting the air shock pressure, take your time getting used to the new settings. Ride cautiously and pay attention to how your motorcycle handles different road conditions.
Benefits Of Using An Air Shock System
Using an air shock system can provide a range of benefits for various applications. One of the main advantages is the ability to adjust the air pressure to customize the level of shock absorption and suspension stiffness. This allows for a smoother and more comfortable ride, especially when traversing rough terrain or uneven surfaces. Here are the benefits:
- Improved Ride Quality: Air shocks allow you to adjust the pressure to suit your specific riding preferences. Resulting in a smoother and more comfortable ride.
- Enhanced Handling: By fine-tuning the air pressure in your shocks. You can improve the responsiveness and stability of your bike, especially when cornering or navigating uneven terrain.
- Customizable Suspension: With an air-fitting shock system. You have the flexibility to adjust the ride height and stiffness of your suspension. Allowing you to tailor it to your weight, riding style, and load requirements.
- Easy Installation: Air shocks are relatively easy to install on most Harley models and typically require minimal modifications to your existing suspension setup.
- Versatility: Whether you’re a solo rider or frequently carry a passenger or luggage. An air shock system can be easily adjusted to accommodate different load conditions.
Additional Tips for Air Shock Maintenance
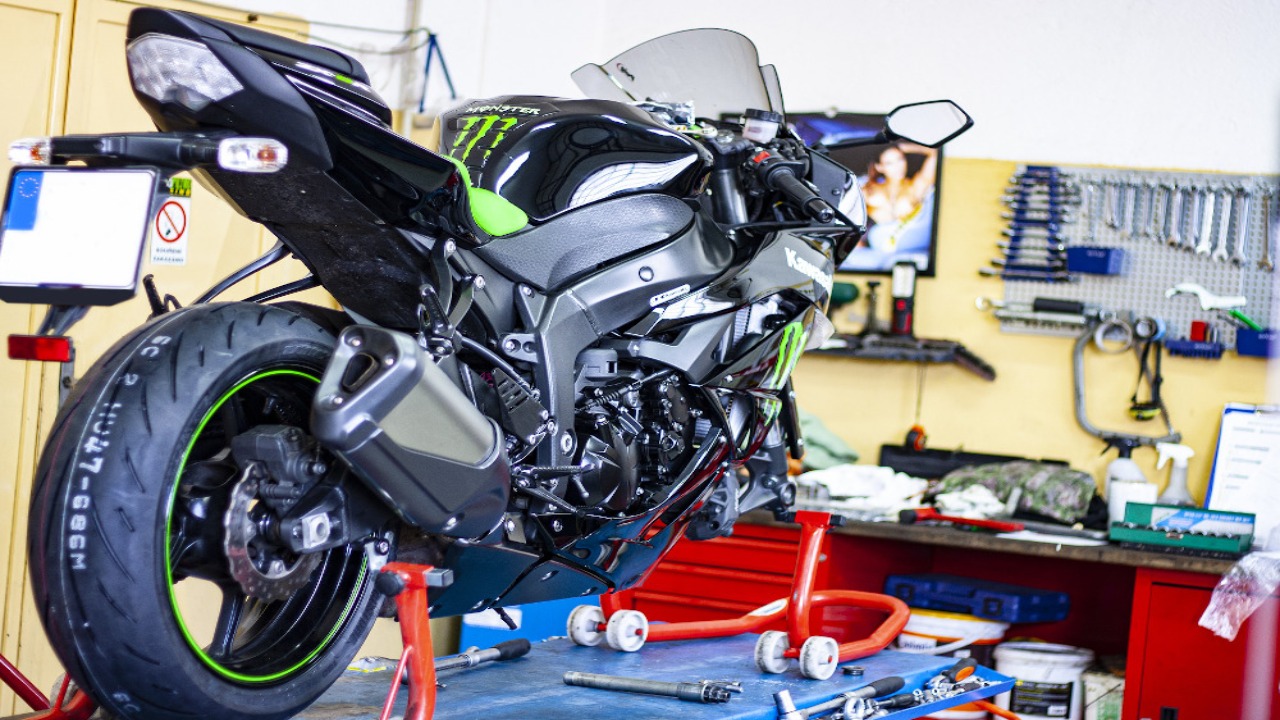
Regarding maintaining your Harley air shocks, there are a few additional tips that can help ensure optimal performance and longevity. Here are some key points to keep in mind. By following these additional tips and properly maintaining your Harley air shocks, you can enjoy a smoother and more comfortable ride on your motorcycle.
- Regularly Check The Air Pressure: It is important to regularly check the air pressure in your air shocks to ensure they are properly inflated. Refer to the manufacturer’s guidelines or consult your owner’s manual for the recommended pressure range.
- Use A Quality Air Pump: Invest in a quality air pump with a gauge specifically designed for motorcycle air shocks. This will allow you to accurately measure and adjust the pressure as needed.
- Avoid Overinflating: Overinflating your air shocks can lead to a harsh and uncomfortable ride. As well as potential damage to the shocks themselves. Always follow the manufacturer’s recommended pressure range and avoid exceeding it.
- Inspect For Leaks Or Damage: Routinely inspect your air shocks for any signs of leaks or damage, such as visible cracks or excessive oil leakage. If you notice any issues, it is important to address them promptly to prevent further damage and ensure rider safety.
- Consider Professional Maintenance: If you are unsure about performing maintenance on your Harley air shocks yourself, or if you suspect more serious issues. It may be best to consult a professional technician who specializes in motorcycle suspension.
Filling And Checking Air Shock Pressure
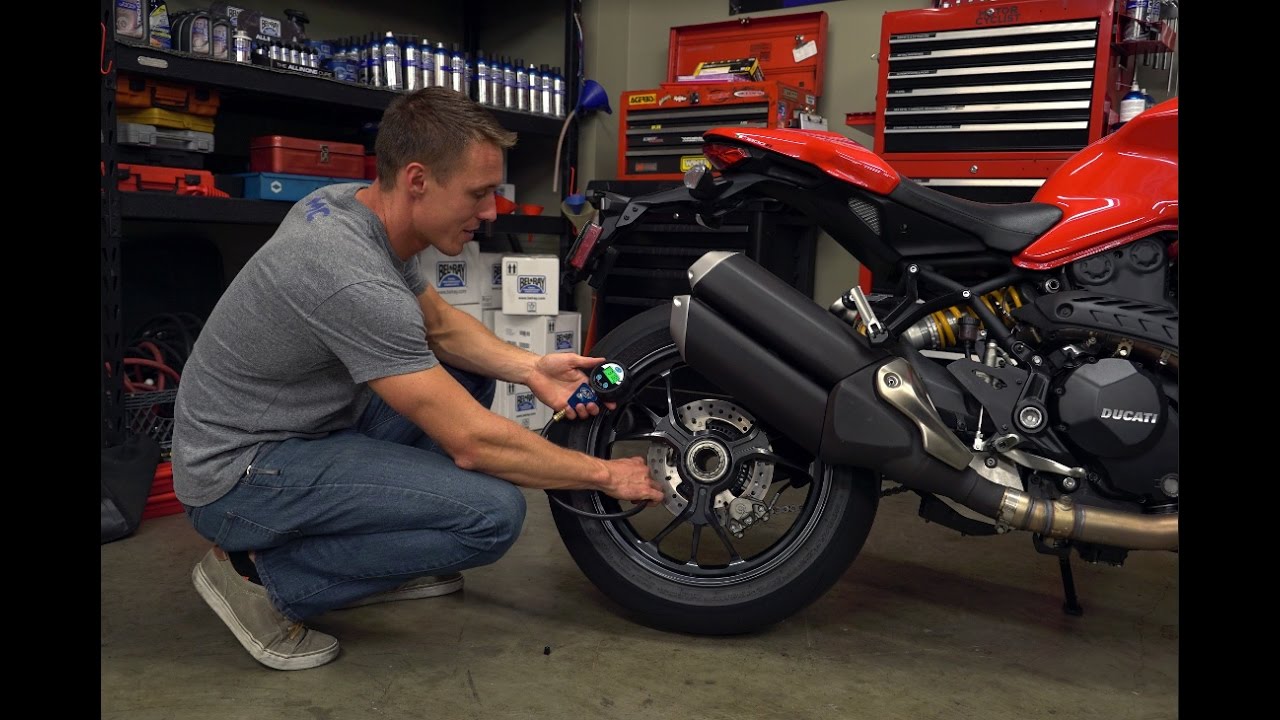
Shock air pressure should not exceed 150 PSI (1034 kPa). You should remove riders and cargo before checking air pressure. Use an Indian motorcycle Air Pump and Gauge (P/N PV-48909) to adjust air pressure. Refer to the label located on the inside of the left side cover to determine the recommended rear shock air pressure.
Lastly, it would be best if you used the built-in air control bleeder button to bleed excess air from the suspension system until you achieve the desired pressure in addition to shock air pressure. Suspension components such as springs, shock absorbers, and stabilizer bars also need regular maintenance and adjustment to ensure optimum performance.
Conclusion
Understanding the Harley air shock pressure chart is essential for every Harley owner who wants to optimize their riding experience. By following the recommended air pressure settings, riders can ensure that their bike’s suspension system is properly balanced and provides the desired level of comfort and stability.
Whether you’re a seasoned rider or new to the world of Harley motorcycles, taking the time to understand and adjust your air shock pressure according to the chart will greatly enhance your riding experience. So, grab your owner’s Owners Manual, and refer to the air shock pressure chart. And get ready to hit the road with confidence and control. Enjoy your ride!
Frequently Asked Questions
How Much Psi Should I Put In My Shock?
The recommended PSI for your shock will depend on various factors, such as your weight, riding style, and terrain. It is best to consult the manufacturer’s guidelines or speak with a professional bike mechanic to determine the appropriate PSI for your specific shock.
How Much Air Pressure For Tri Glide Shocks?
The recommended air pressure for tri-glide shocks may vary depending on the specific model and manufacturer. It is important to consult the owner’s manual or contact the manufacturer directly for the ideal air pressure range.
What Should The Air Pressure Be On A Harley Davidson?
The recommended air pressure for a Harley Davidson motorcycle can vary depending on the specific model and tire size. It is crucial to consult the owner’s manual or contact a Harley Davidson dealership for accurate air pressure specifications.
How Much Psi For Front Shocks?
The recommended PSI for front shocks can vary depending on the specific make and model of the vehicle. It is important to consult the owner’s manual or contact the manufacturer to determine the correct PSI for your specific front market shocks.
How Much Air Should Be In Motorcycle Shocks?
The amount of air in motorcycle replacement shock varies depending on the specific make and model of the motorcycle. As well as the rider’s preference and riding style. It is important to consult the motorcycle’s owner’s manual or the manufacturer’s recommendations for the correct air pressure.
